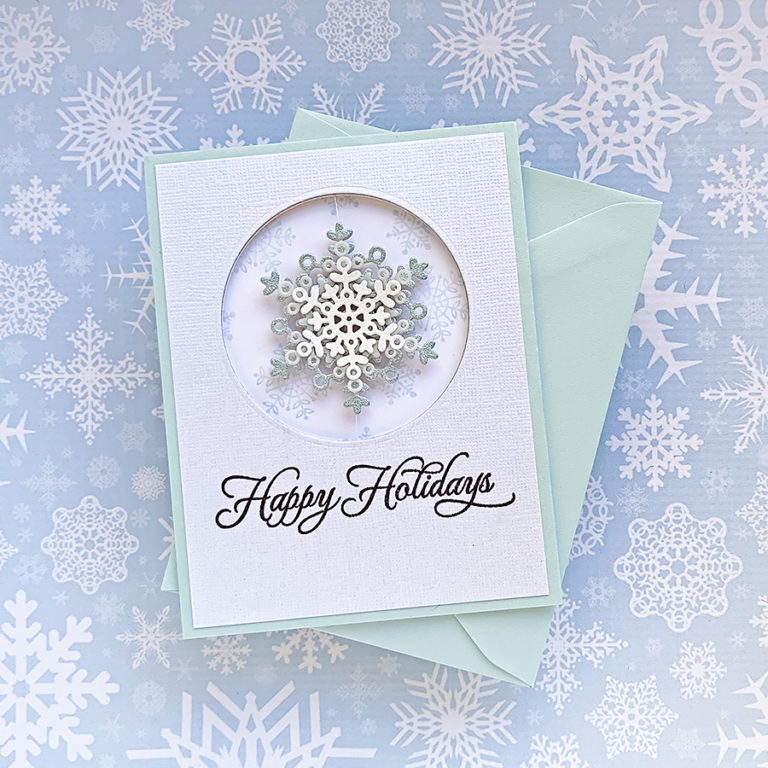
Square Shaker Ornament Card for Christmas
Hello friend! I have a photo post today to share my shaker ornament card with you
I’m supposed to have a video ready, but since South Texas gets Mountain Cedar pollen instead of snow, I have no audio. Hubs
To start, I made a 5-1/2″ x 5-1/2″ card base from some Classic Crest 130# cardstock in white, a 5-1/2″ x 3-1/2″ piece of Craft Perfect Pearlescent cardstock in White Pearl, and a 5 1/2″ x 5″ piece of a patterned paper that I had in my stash.
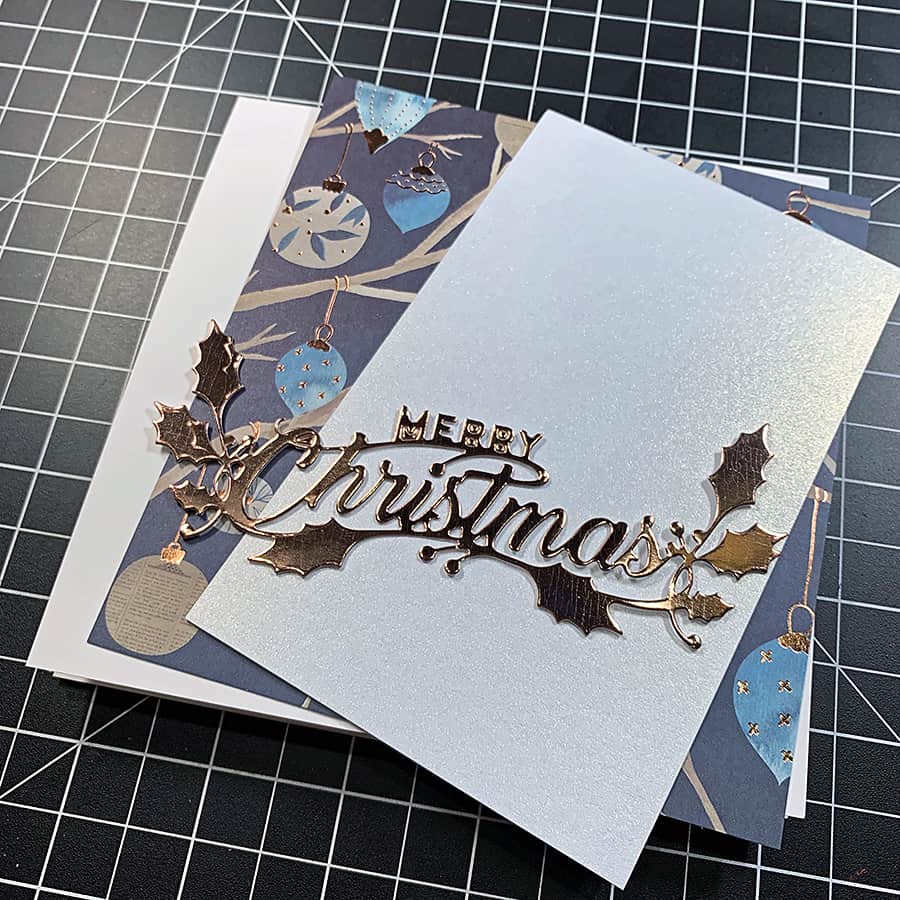
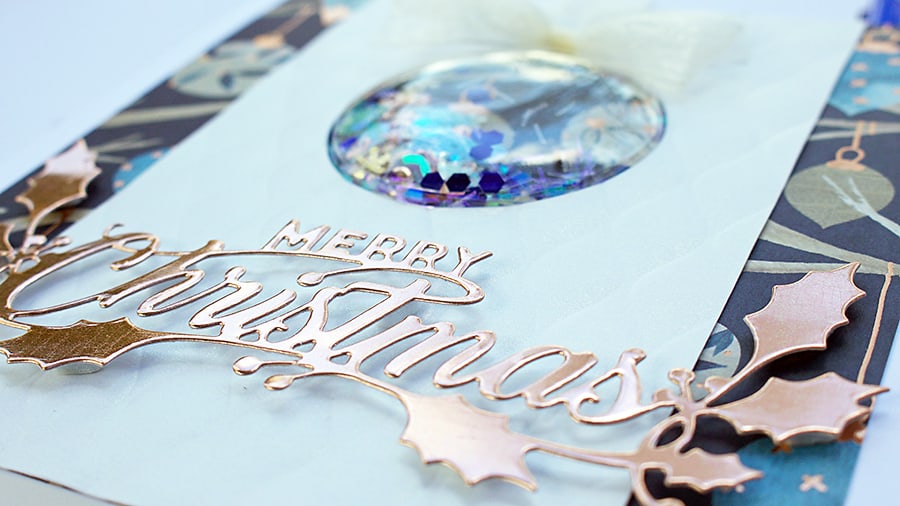
For the sentiment, I used CraftPerfect Mirror cardstock in Rose Platinum – It matched perfectly with the foil accents on the patterned paper, and it cuts beautifully.
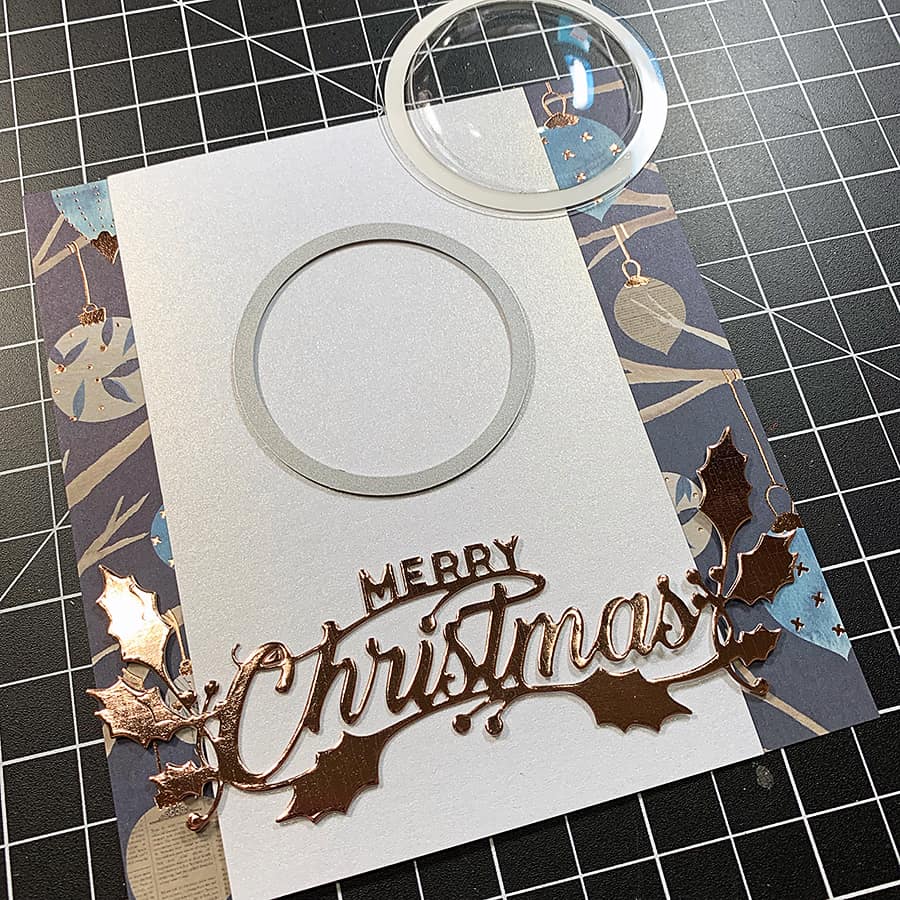
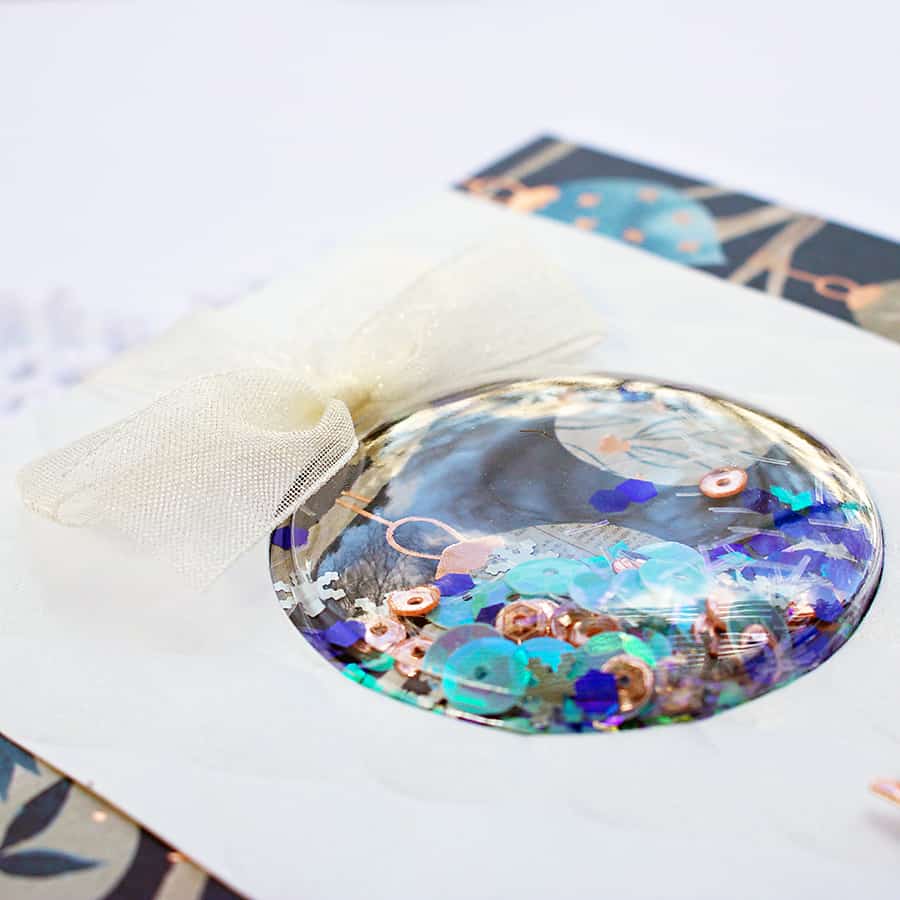
The shaker pouch I’m using today comes with the matching die, so all I needed to do was position it on the pearl cardstock where I wanted my “ornament” to be and run it through my die cutting machine. I didn’t cut the patterned paper, that was going to be the backing for the shaker.
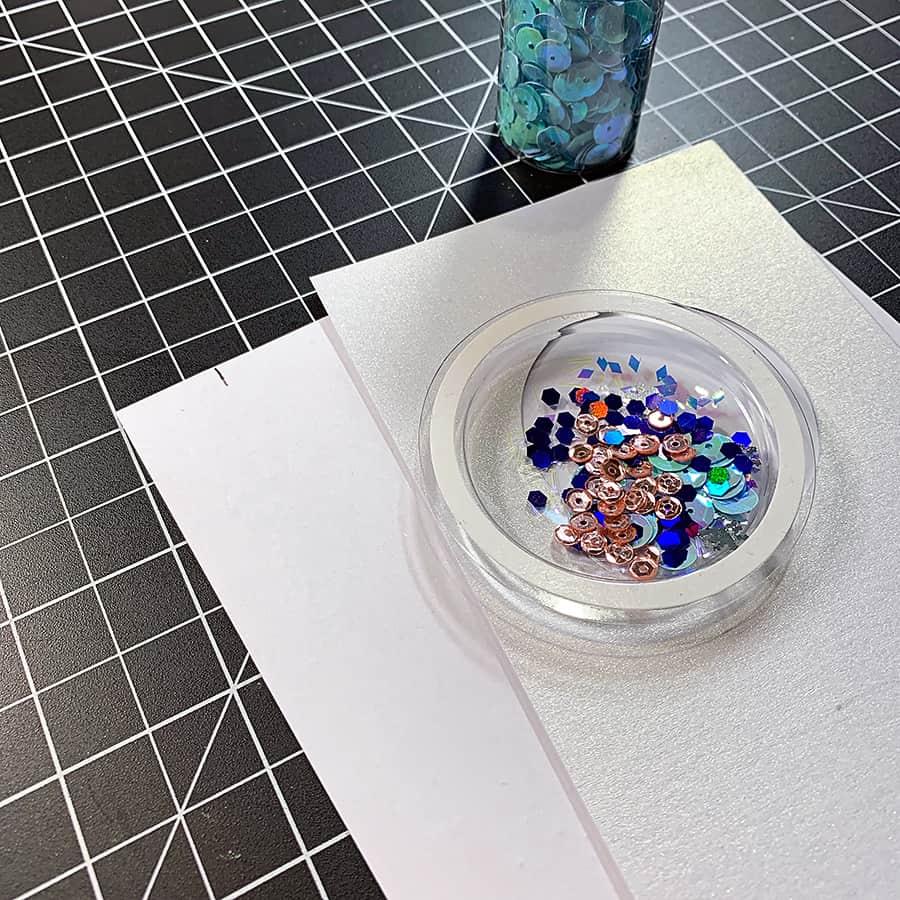
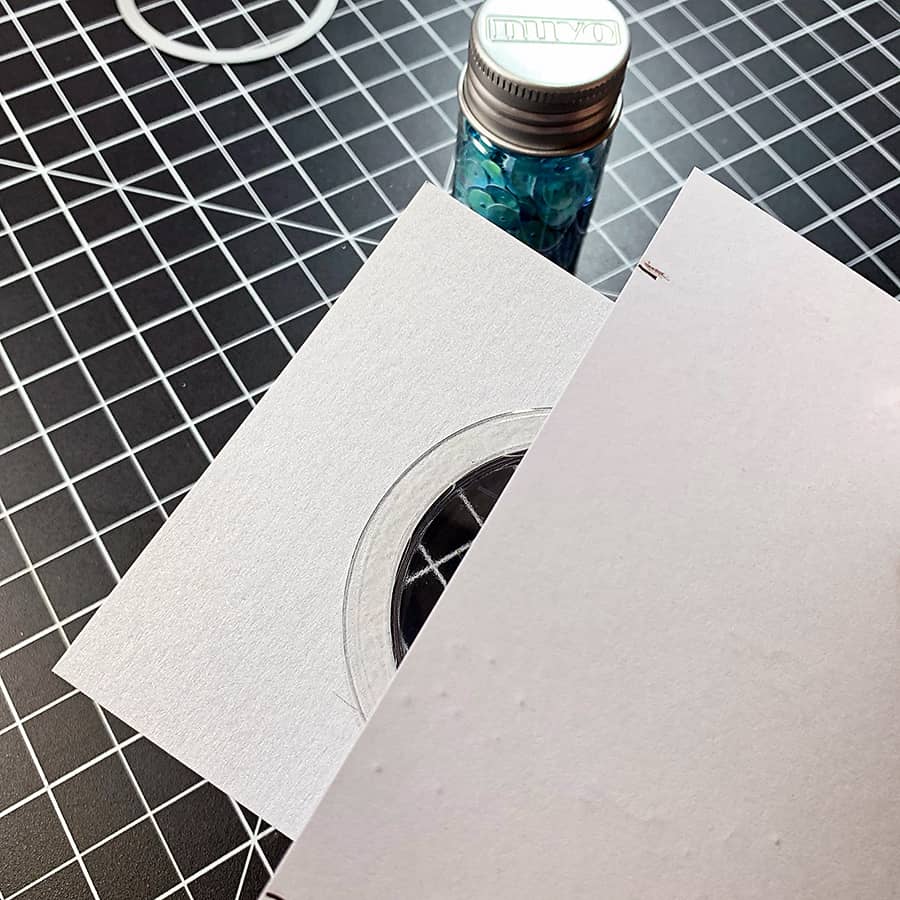
To seal the shaker, I flipped over the patterned paper and made marks where the pearl cardstock should line up on the other side. I used a mix of Nuvo confetti and sequins from the Let It Snow collection to fill the blister, then I carefully peeled the release paper off the adhesive.
Next, I used the lines I drew to layer the patterned paper face down over the pearl cardstock and the shaker pouch.
Now that it was sealed, I flipped over the patterned paper and adhered the pearl cardstock in place with a strong glue runner (I embossed it beforehand, with a folder that echoed the shapes of the ornaments on the patterned paper).
I added the ribbon and bow on the top to “hang” the ornament, then attached the sentiment below with some strategically placed foam adhesive.


There you have it – my shaker ornament card in beautiful navy and rose!
Hopefully, my voice will be back soon, and I can make you a few videos to watch over the holidays.
There’s still a shopping day or two left, pop on over to Tonic and see what stocking stuffers they have. They have some last minute sales happening now!
Thank you for reading today!