Shaping Die Cut Flowers
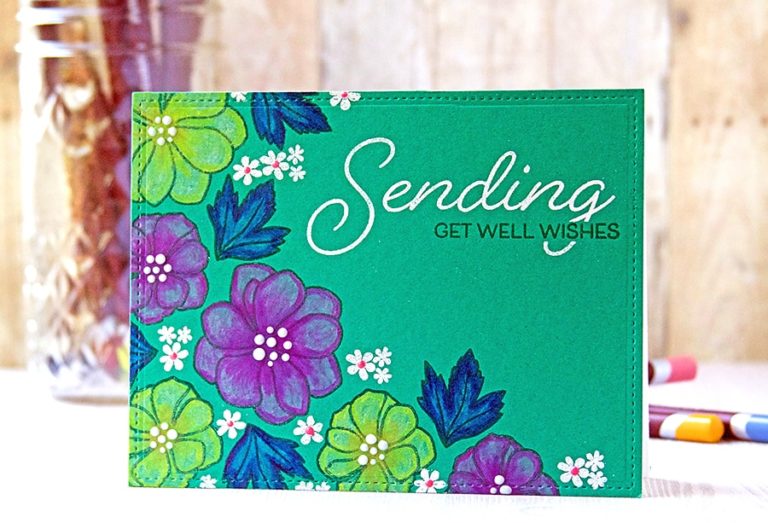
This is a card I made for my grandmother earlier this year.
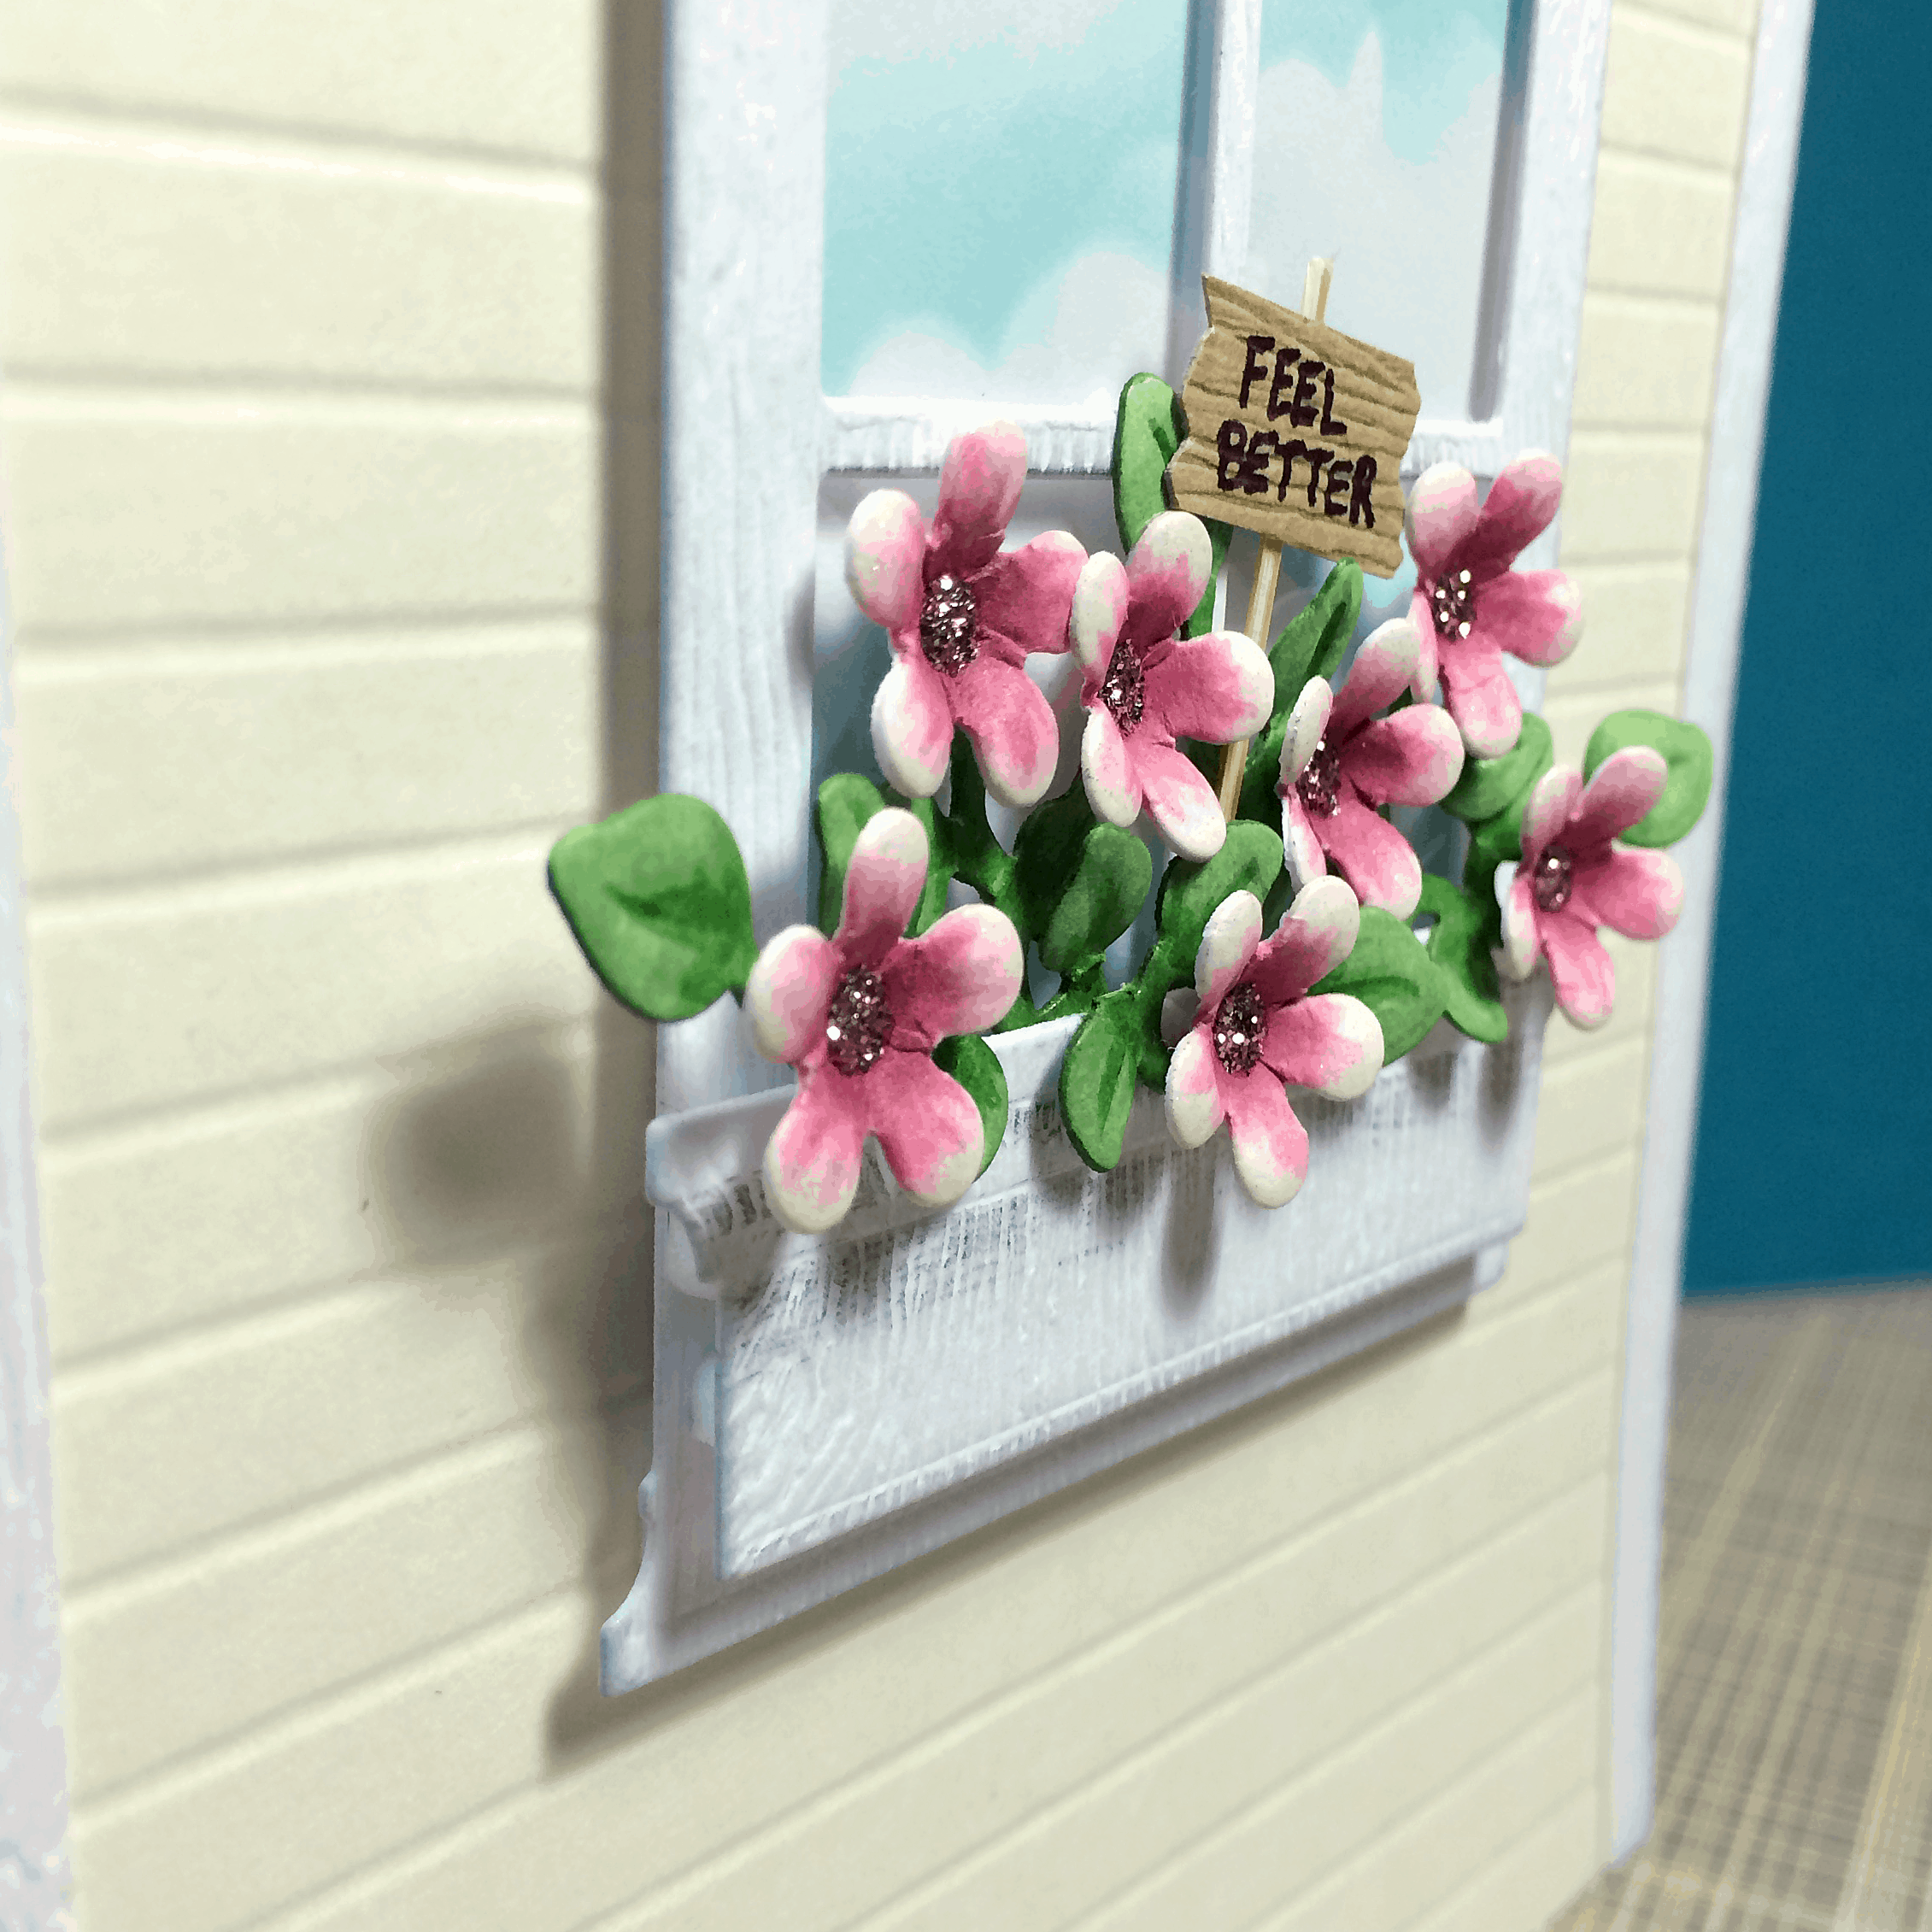
I know what you’re thinking… the sky is technically inside the ‘house,’ but I felt like the flowers needed to be against the sky, not a living room. I’m going with artistic license on this one 🙂
Plus I really wanted to do faux siding.
I started out with an ivory-ish card base (5.5 x 4.25). I opened it up and turned it widthwise on my scoreboard, then made a score line every 1/4″ until I got to the bottom. Sadly, I poked through a couple of places along the edge – but I remedied that with two strips of wood grain textured paper.
Before I attached them, though, I scuffed them up a little with the side of a pencil so the wood grain would show more. I did the same treatment on the die cut window and flower box shapes and set them aside while I worked on the sky panel and flowers.
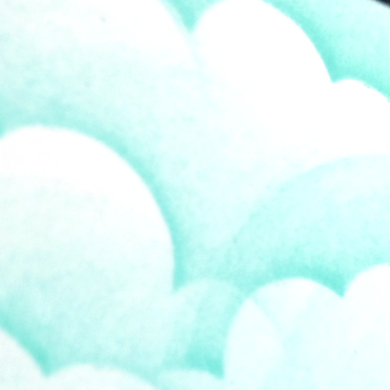
Full disclosure here – I forgot to take pictures when I was making the sky, so this is from another project, but both are done the same way. I hand cut a cloud shape from the top of a wide rectangle piece of paper, placed it where I wanted a cloud on my panel and carefully brought in my ink from off the edge of the panel toward my cloud template. It creates the look of a hard edge on the top of the cloud and creates a sorta dreamy effect as you work your way down the panel.
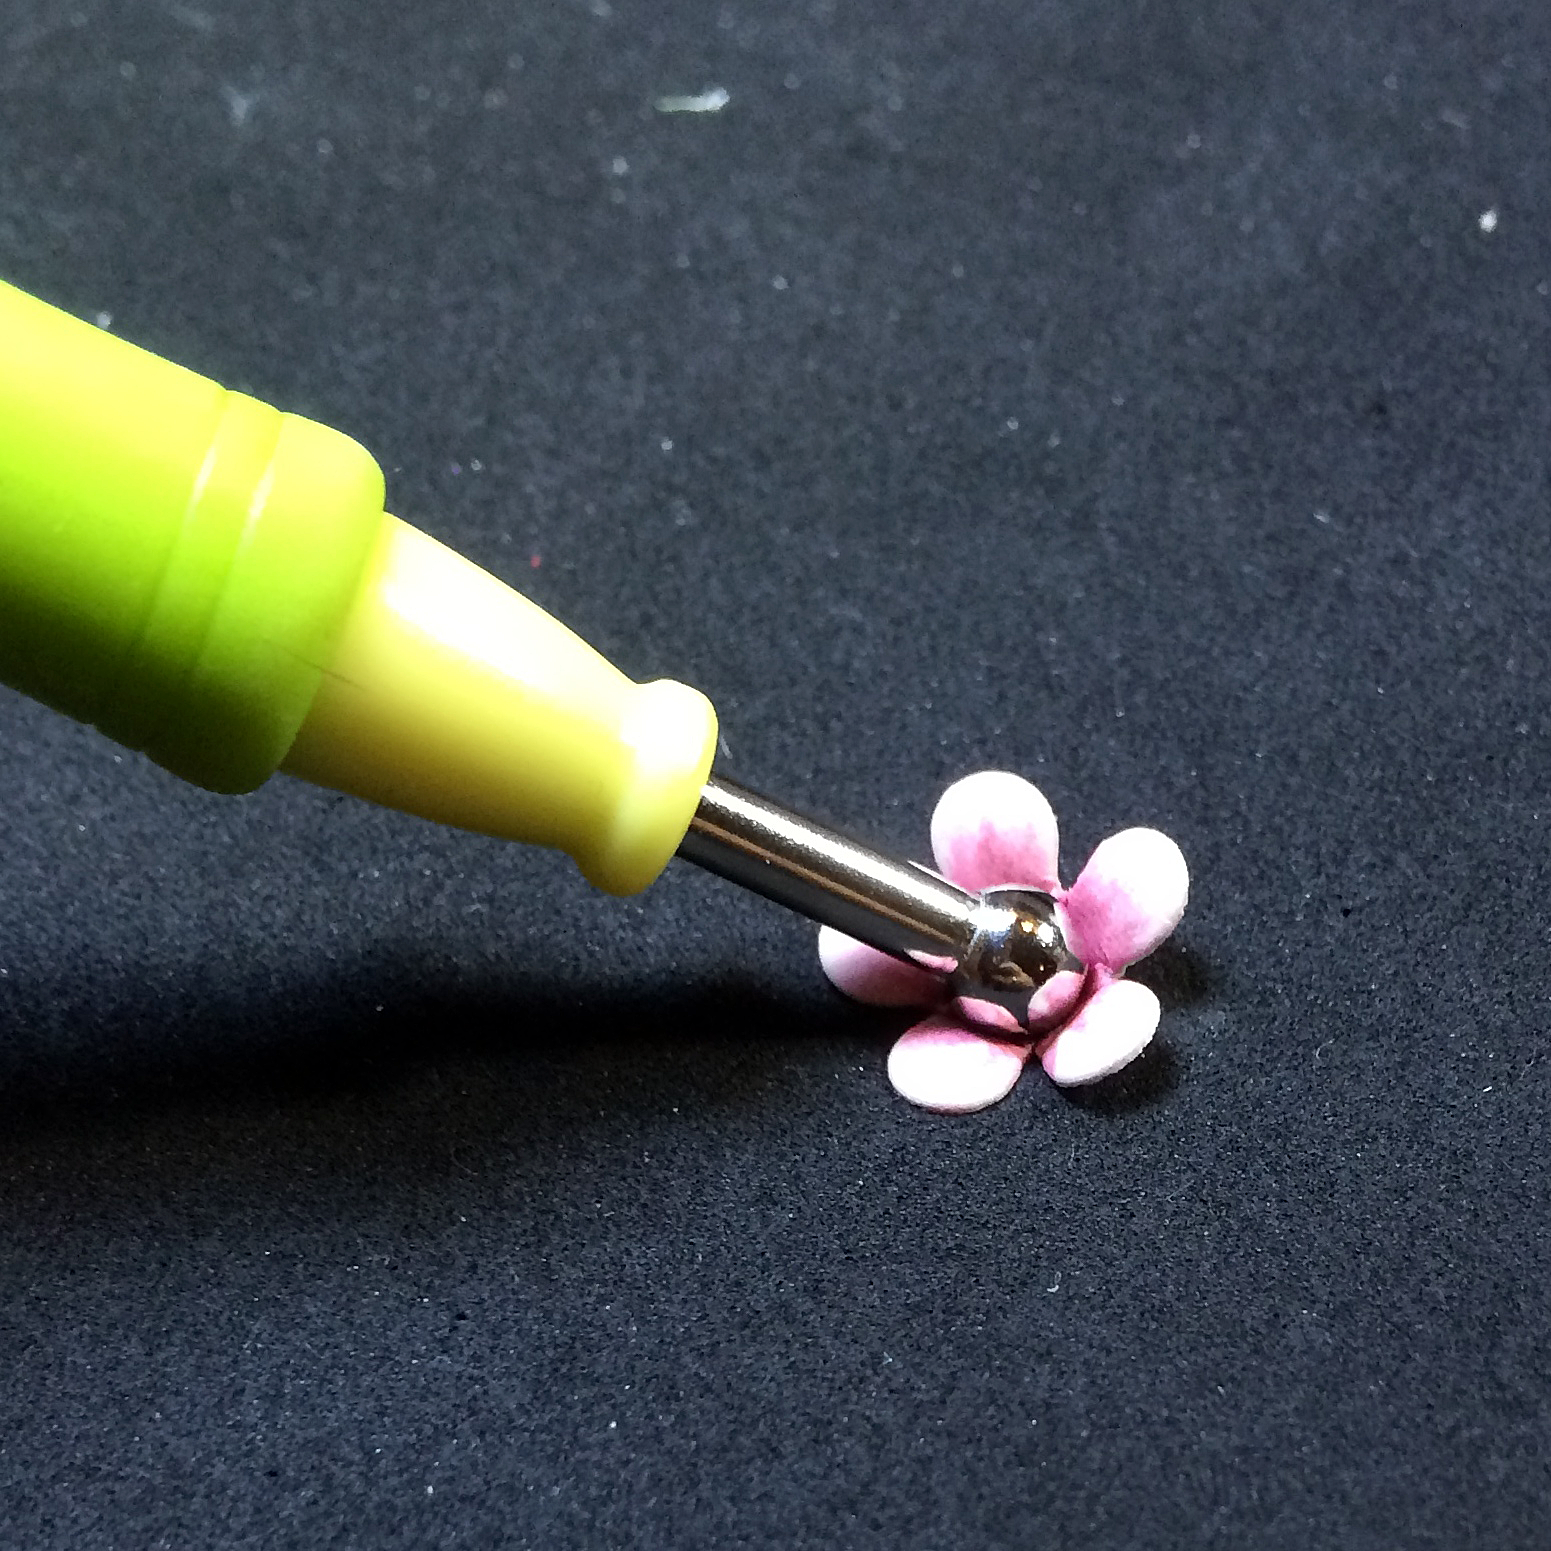
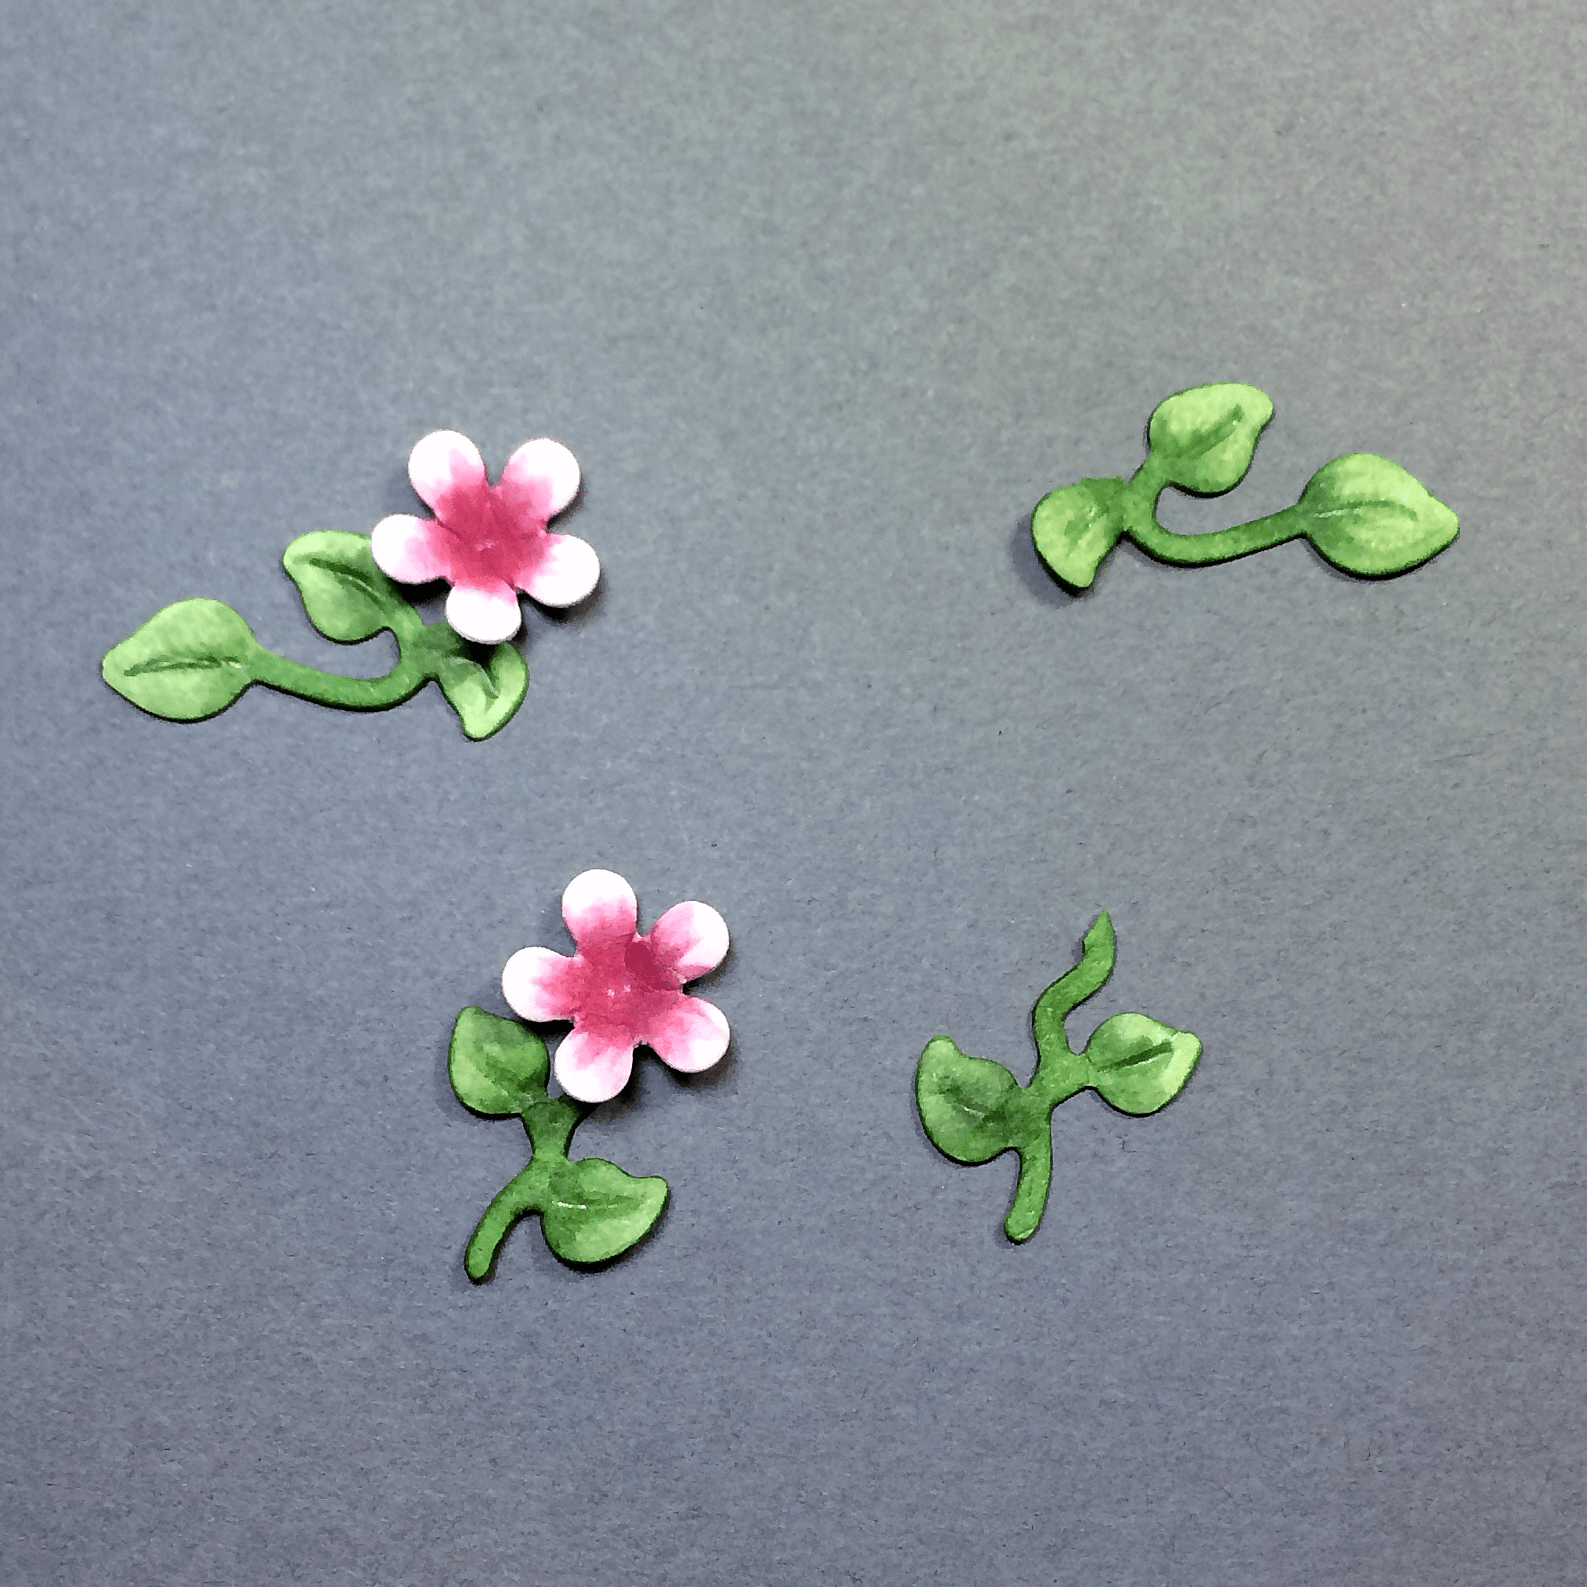
To fill my flower box, I die cut seven little flowers with a small die from Heartfelt Creations, then colored them just a bit from the centers out with Copic Sketch RV21 and RV23, using a flicking motion. I shaped them with a large flower shaping stylus (you can even use a rounded end of a pen for this) by turning them upside down first and pressing on each petal, then flipping it right side up and pressing down the center.
Once those were done, I die cut a few vines and colored those too, with my favorite greens: G40 and G46. Sadly, these vine dies are no longer available on the Heartfelt Creations website, but there are several alternatives there for your perusal.
I put together the window and flower box with some foam squares. It took me a little snipping and arranging to get the look I wanted, but I felt this was all better done before I attached everything to the card front. I placed the end flowers first, then the ones just above them placed the vines to fill in the center and arranged the last three flowers in the center of the box.
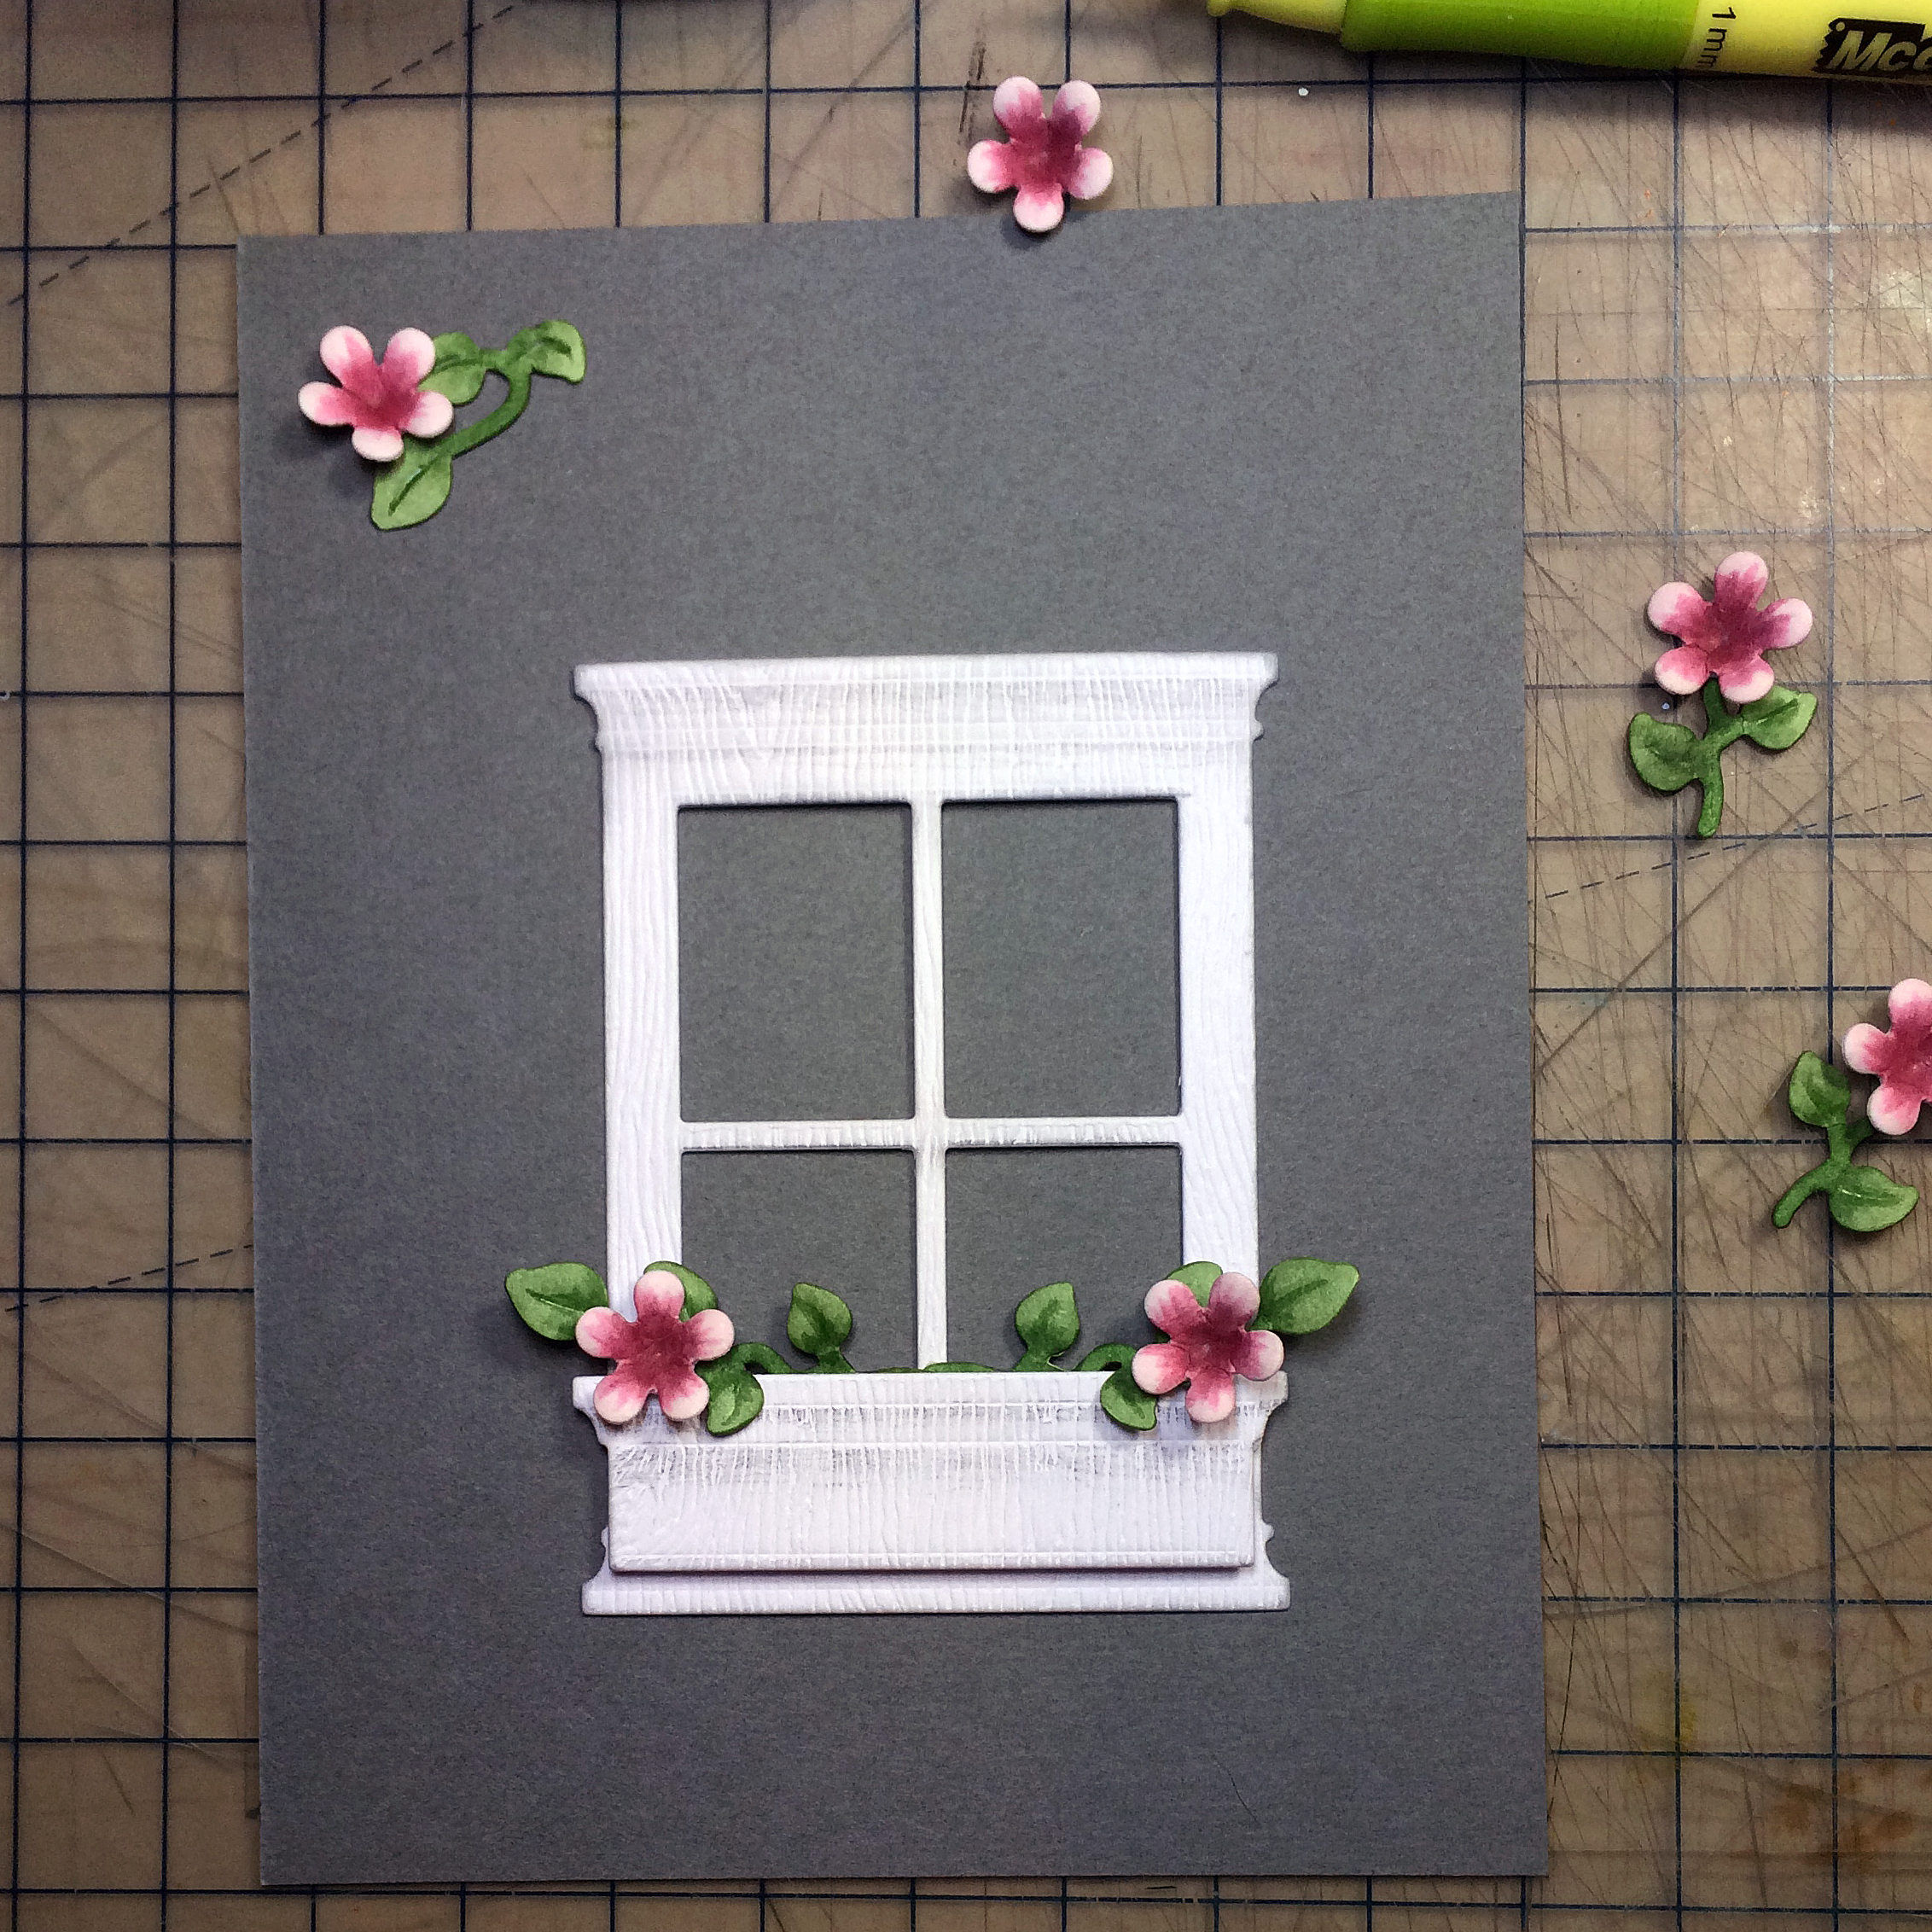
I messed around with the leaves with a pair of tweezers, pulling some out and tucking some back to create more of a three-dimensional look. To finish them off I dabbed a little glitter glue in the center of each flower.

The little sign was made with a scrap of kraft woodgrain paper I had lying around, which I hand-lettered and stuck to half a toothpick before tucking it in the flower box. Even with all that layering, it went through the mail internationally with no problems 🙂
Thanks for stopping by today to see my technique for shaping die cut flowers. Do you make paper flowers? Leave a comment below and tell what your favorite flower is!

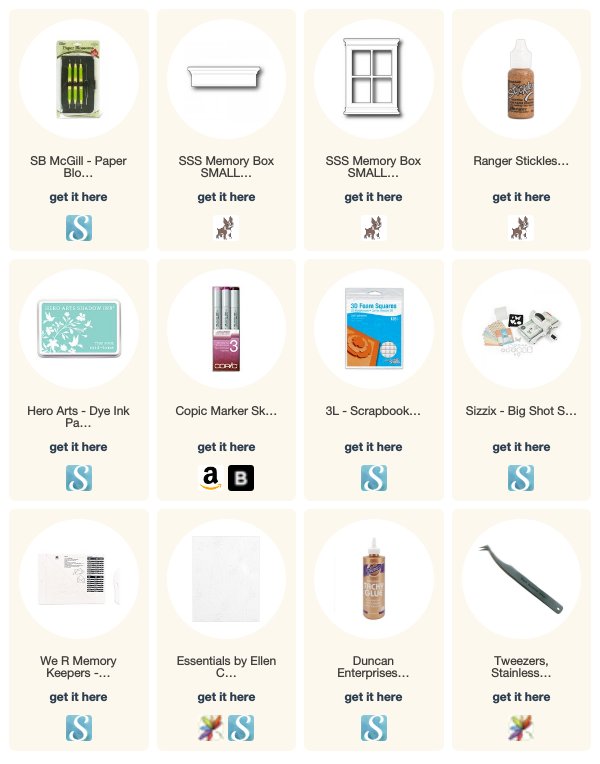
The links below are affiliate links to the products I used today. There’s no additional cost to you, and if you decide to click and shop, I really appreciate the support! Thank you!