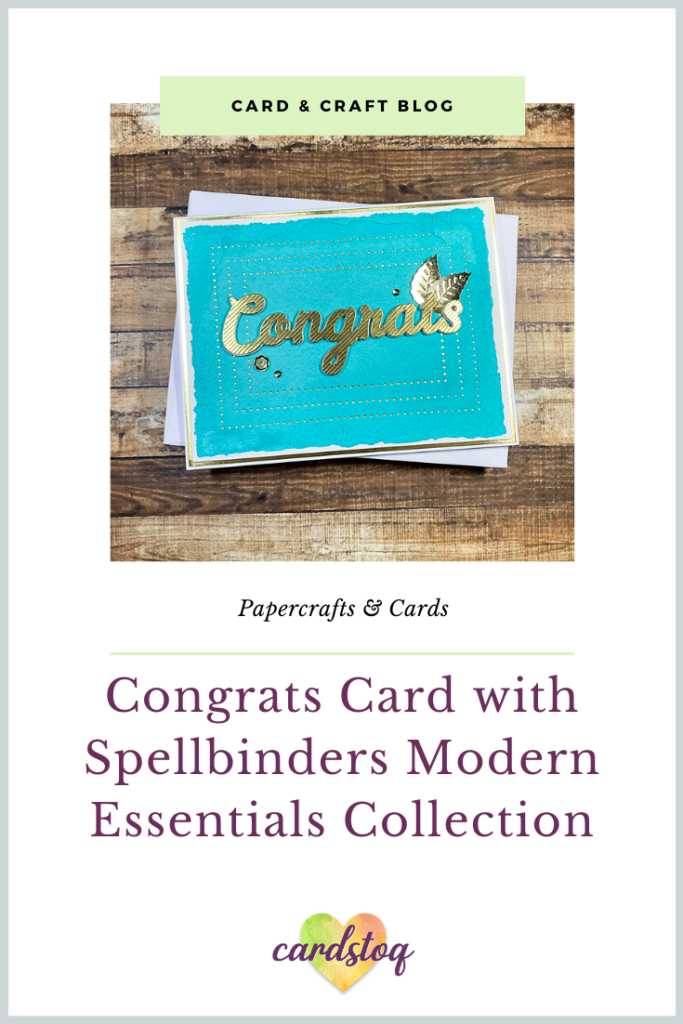
Congrats Card with Spellbinders Modern Essentials Collection
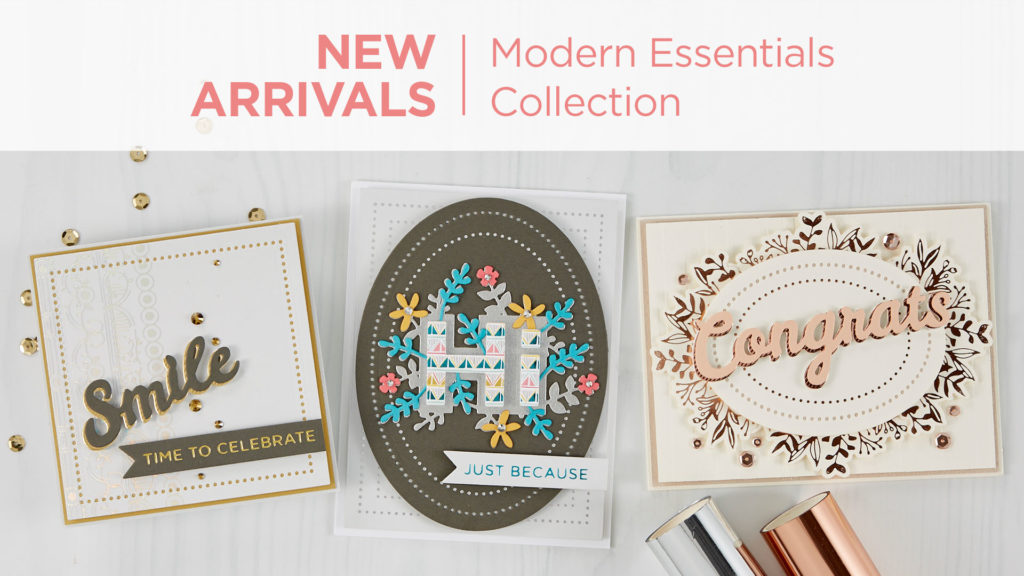
You know the feeling when you find die sets that you didn’t know you needed until the first cut? That’s the new Modern Essentials collection from Spellbinders.
There’s nothing more annoying than trying to square off a card panel, and it still looks crooked (well, spilling glitter is worse, but that’s another post), and you end up trimming off so much, your card ends up wonky-looking.
Or nailing the focal point on your card… but it needs that something else; that certain je ne sais quoi that you fill with sequins and Nuvo Drops. 🙂
Most of the time, you only need a professional-looking finished edge or a good framing solution.
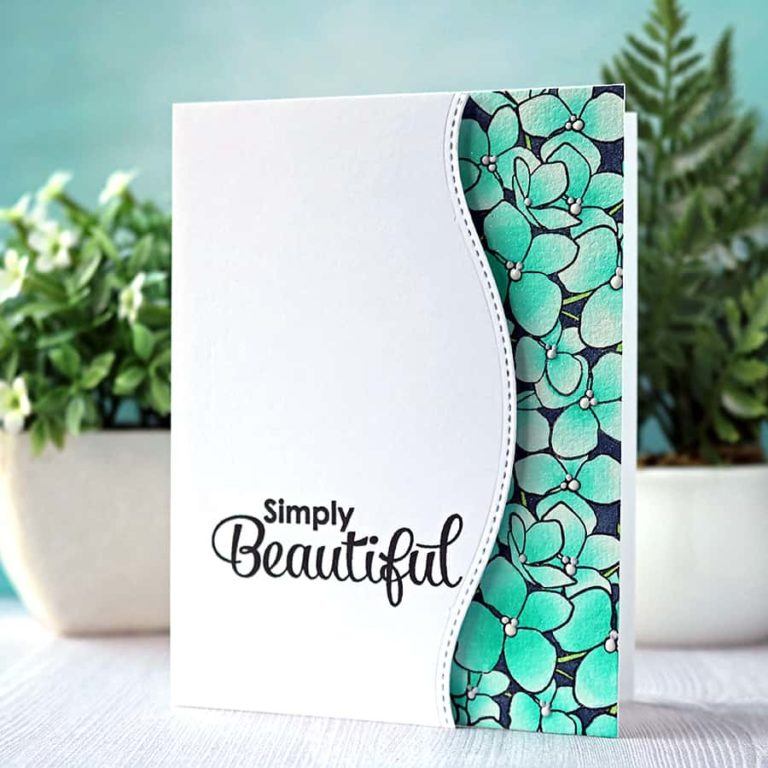
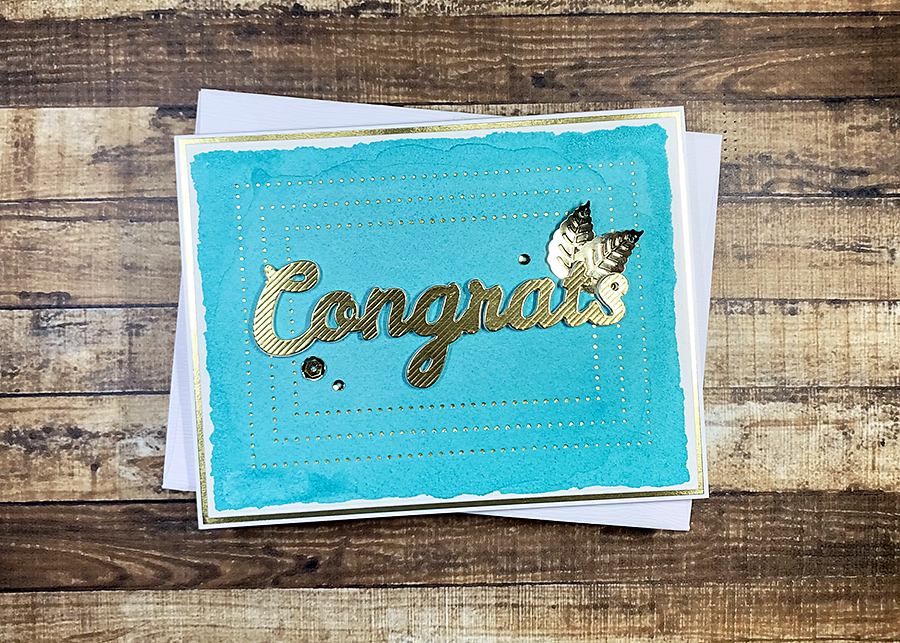
For my card today, I used the Nestabilities Essential Rectangles and a Congrats word die the lovely folks at Spellbinders sent me to show you how easy it is to pretty up a watercolored panel (is that even possible?! yep!) with a central focal point.
To start, draw a puddle with clear water on a 5.5″ x 4.25″ piece of Arches Watercolor paper, staying about a half-inch away from the edges. Not so much water that it takes forever to dry, but enough that it floats just above the grain of the paper.
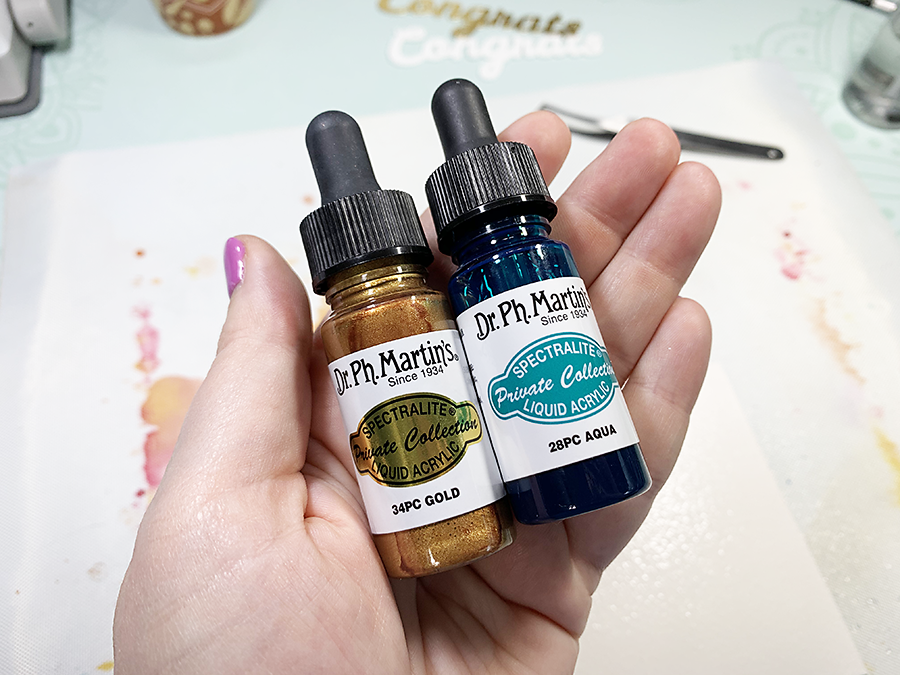
Then, drop in your favorite water based paint and swirl it around a bit. I used Spectralite Liquid Acrylics in Aqua; I love the vibrancy of the pigment in this paint!
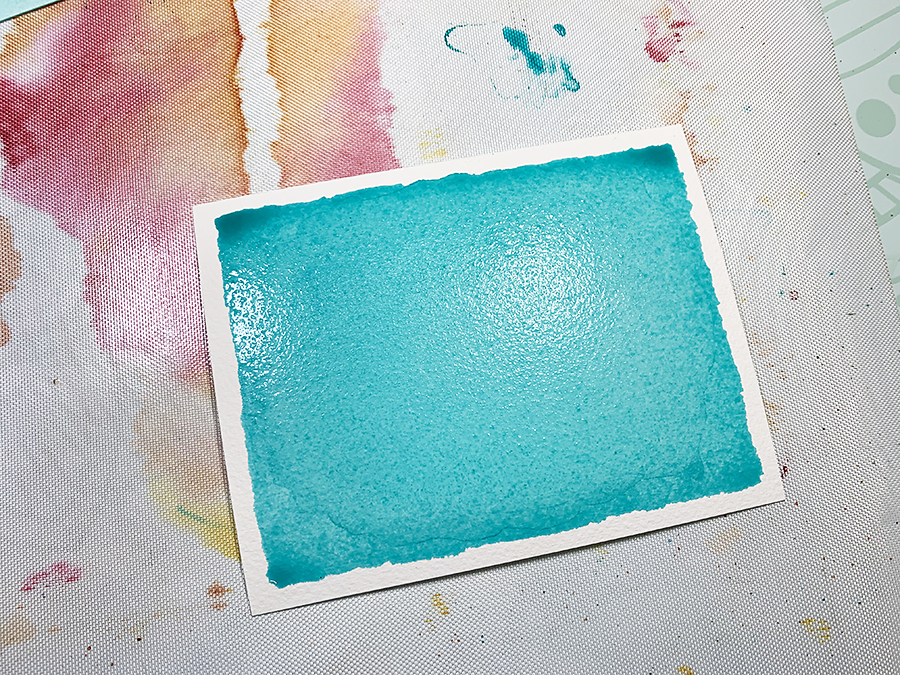
Carefully speed dry the panel with a heat tool, then trim out the panel using the largest straight rectangle from the Essential Rectangles die set.
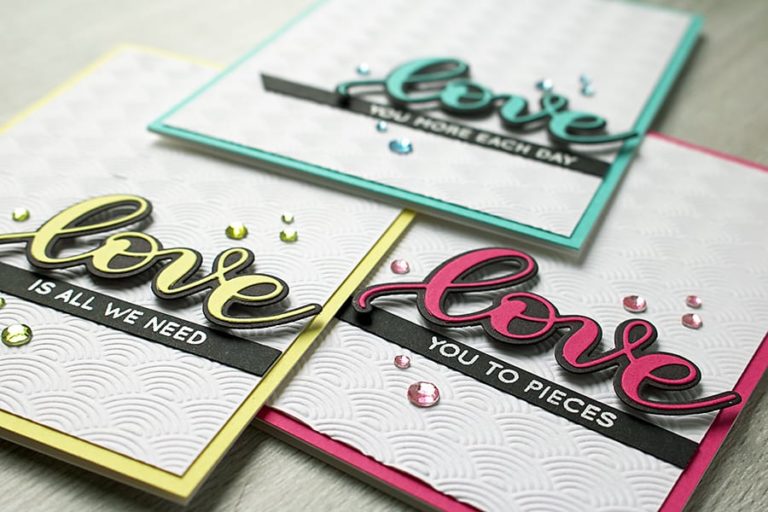
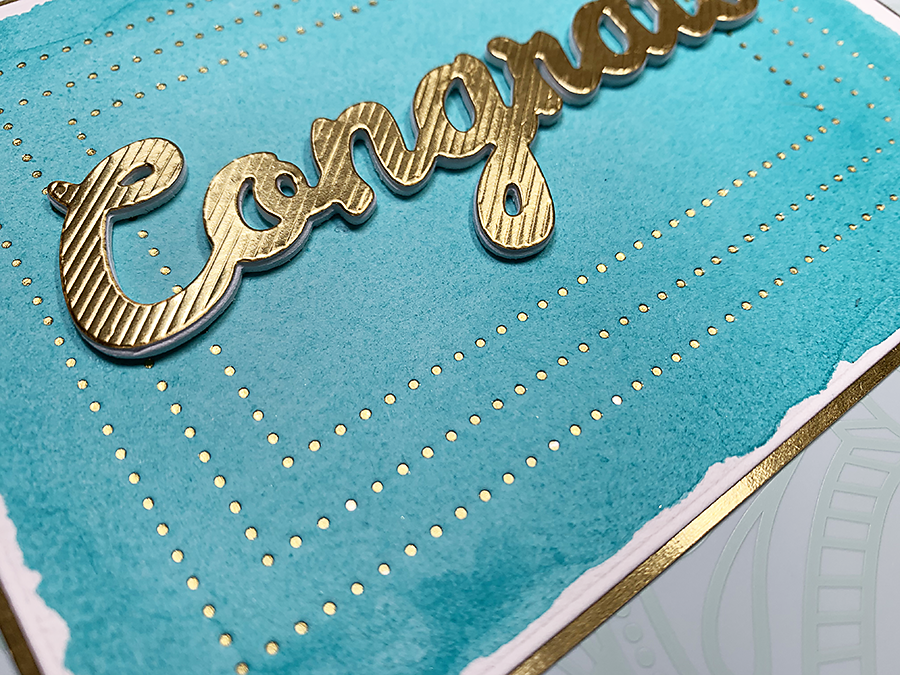
Next, die-cut one “Congrats” from gold cardstock, and another from a white sheet of Fun Foam with the die that has the stripes etched in it. Adhere together with dabs of Aleene’s Tacky Glue and set it aside to dry.

Can we take a moment here to talk about how amazing the striped word die looks on foil-finished paper?! The reflections really set it off, don’t you think? I bet this would look fabulous cut from a Curious Metallics paper as well.

To create a nice frame element in the center of the card panel, I chose the Essential Glimmer Rectangles Hot Foil Plates. These are perfect for adding that little something to a CAS card.
I had to make sure they would stay in place because I was only going to get one shot with the watercolor panel. I grabbed a plain white panel I had precut a while back and gave it a dose of Pixie Spray. That kept the dies from sliding around while making the Glimmer sandwich – and added a little shim magic, to boot.
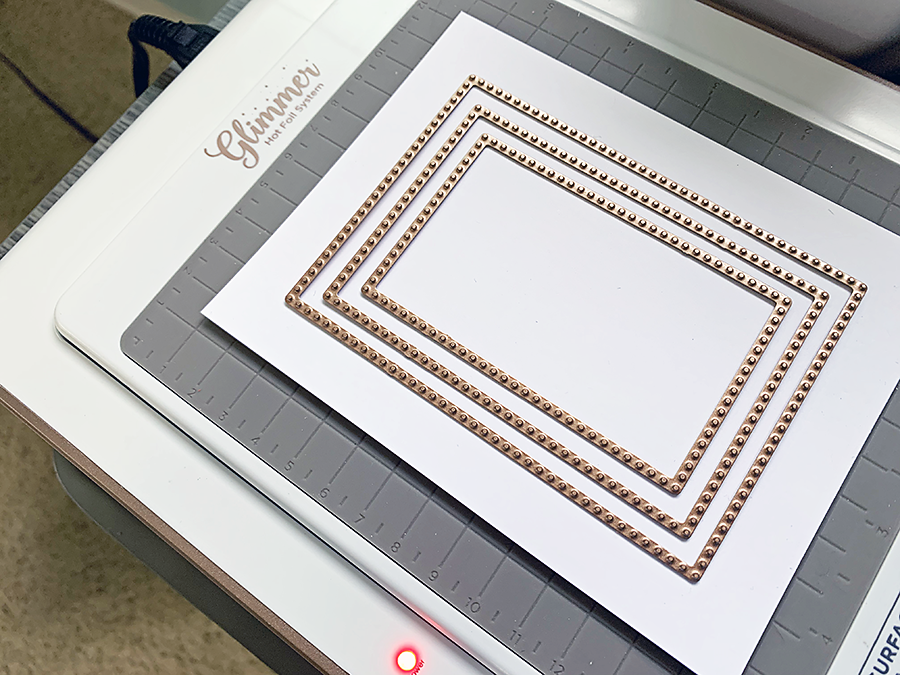
Give it an extra minute to heat up if you have a piece of paper underneath your foil plates to ensure they get hot enough. I used Polished Brass Glimmer Foil; can you see the nice letterpress effect?
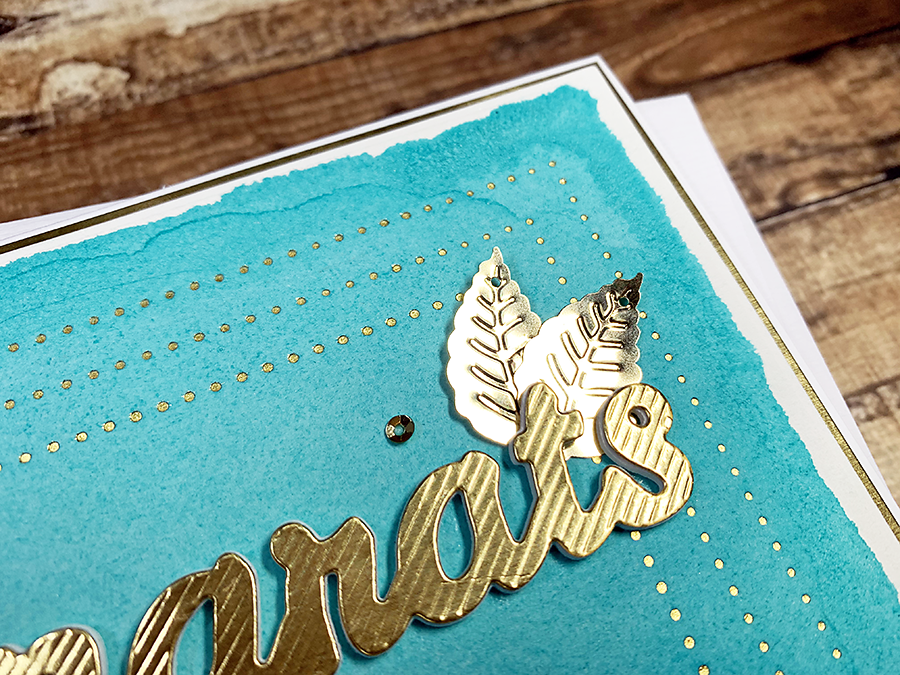
Then, it was time to add the sentiment. Line it up as best you can with a ruler or your cutting mat and adhere with a few more dabs of Aleene’s Tacky Glue. To finish off, stick just a couple of sequins here and there to balance out the letters. I had these gold leaves that I was dying to use 🙂
To finish up, adhere the painted panel to a 5.25″ x 4″ piece of gold cardstock, then mount the finished card front onto a 5.5″ x 4.25″ Neenah Solar White 110lb card base.

Thanks so much for reading about how to make this lovely congrats card today! If you have trouble getting a nice finished look to your cards, I highly recommend picking up a few of these die sets. You can find them all here, and the other supplies I used are listed below.
Pin this card to your inspiration board on Pinterest to save for later!