Haunted Halloween Hop with CutCardStock
Hello and welcome! I’m so happy to be part of the Haunted Halloween Hop with CutCardStock today! You should have gotten here from Ana’s blog, but in case you didn’t, you’ll find the complete hop list at the bottom of the post.
On to today’s project!
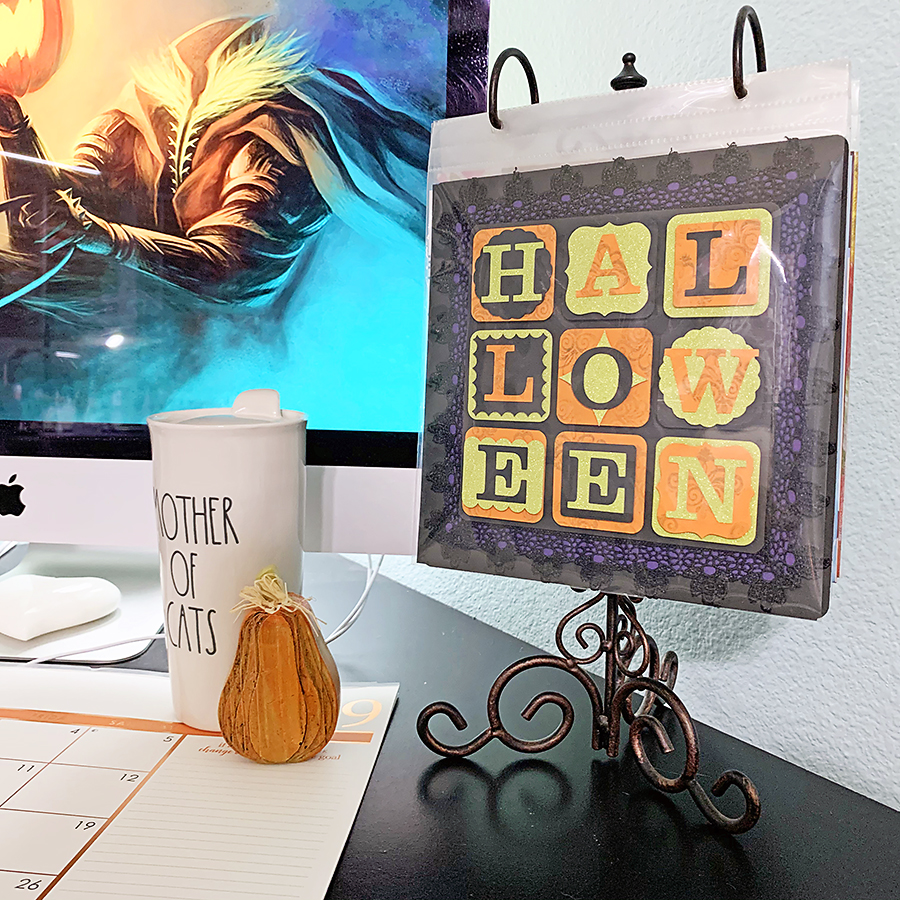
I have this metal 8″ x 8″ stand that I got from Michaels years ago (it’s not available anymore, but I linked a 12 x 12 stand for you in the supplies list below), and I love making seasonal pages for it. This is the one I made for Halloween.
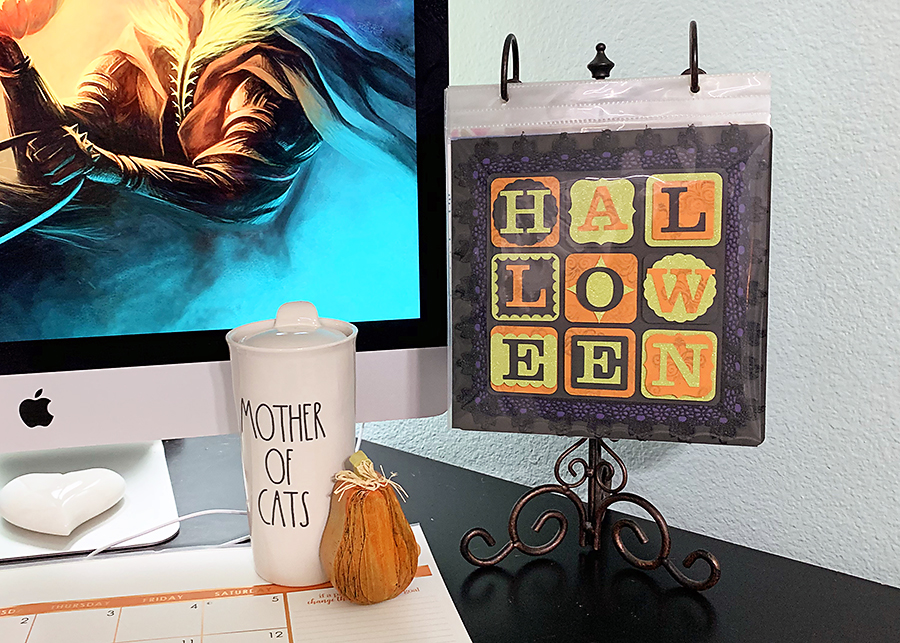
I used my Silhouette CAMEO to cut this file from the Design Store. It’s called Block Halloween by Lori Whitlock (Design ID #33842), and you can find it here. If you have a 12′ x 12″ stand, you can easily resize this design to fit your page sleeves.
Gathering the Pieces
The first thing I did was build all the blocks (I did a bit of stamping first, more on that later). I love putting together cut files with lots of pieces, especially when I have lots of different cardstock to cut. It’s like a puzzle!
The cardstocks I used for this project are:
- Mirrisparkle Absinthe Green Glitter Paper
- Discount Cardstock in Beetle Black
- PopTone Cardstock in Orange
- PopTone Cardstock in Grape Jelly
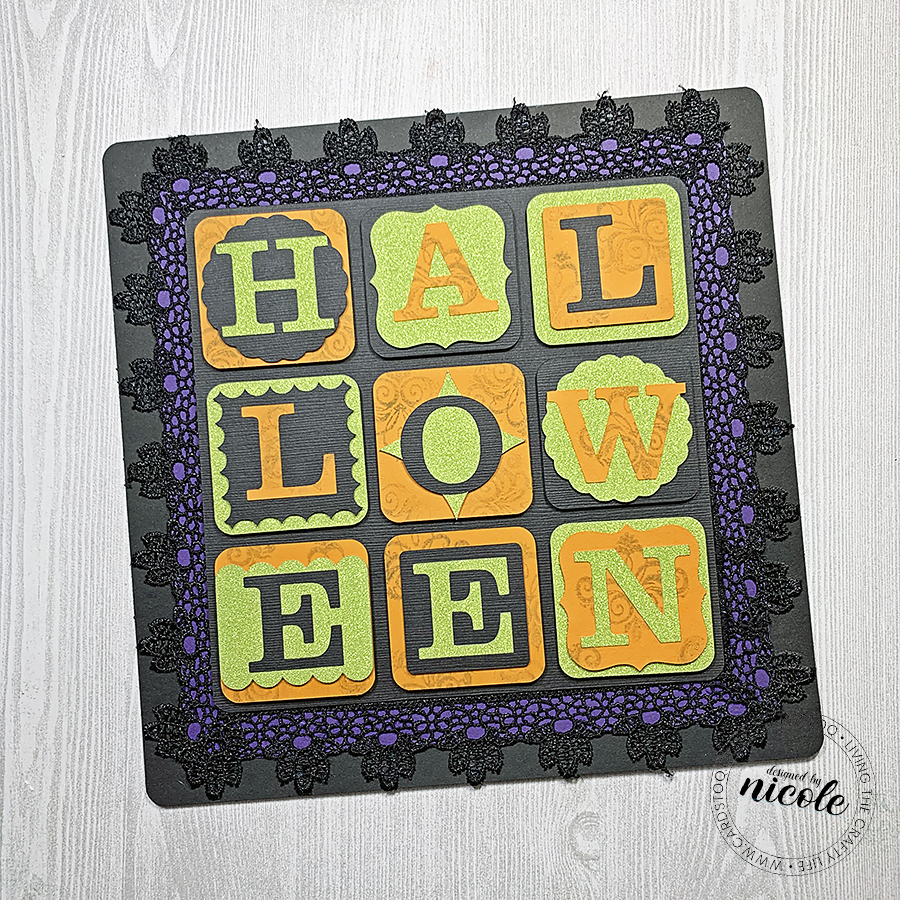
For the layers behind the blocks, from the bottom up, I used an 8″ x 8″ piece of the Beetle Black, a 7″ x 7″ square of PopTone Grape Jelly cardstock and an 8″ black lace cotton doily I had in my stash. I adhered all these together with Tombow Xtreme Permanent Adhesive.
Initially, it was a découpage doily from Martha Stewart Crafts to go on candles, but you can just as quickly grab a paper one and color it to your liking. Alcohol markers will work best as they lay down color pretty smoothly, but remember to protect your work surface if you go this route!
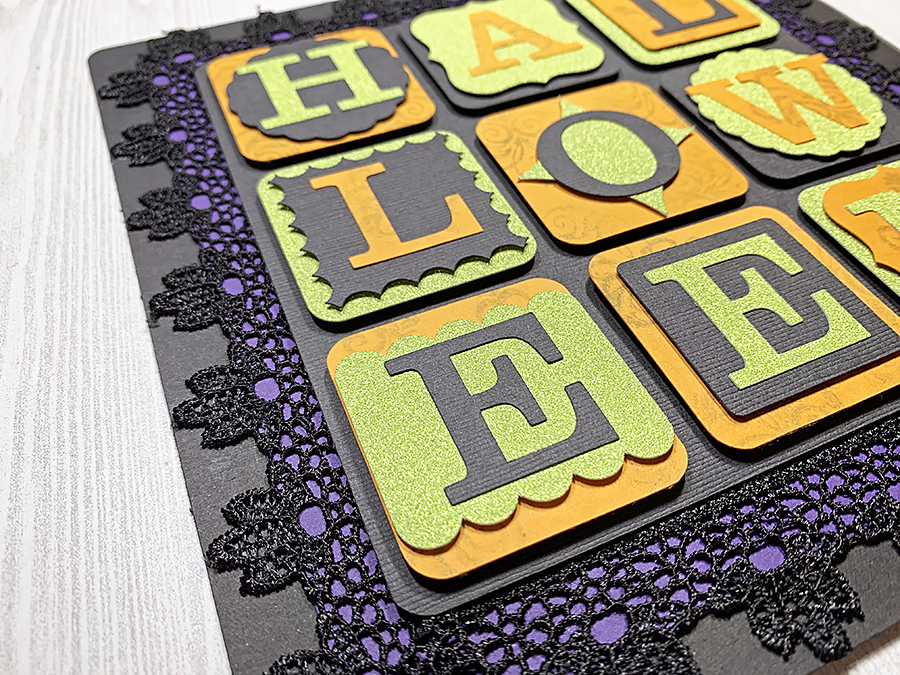
To dress up the PopTone Orange cardstock a bit, I used a small ornate image to stamp all over the pieces using a second-generation stamping method. You can use any small stamp – no need to buy new fancy ones. I bet you have a lot of great images included in sets you already own!
In case you’re not sure what second-generation stamping is, it’s when you ink up your stamp, then stamp it off once on scratch paper before applying the leftover ink to your project. It keeps the image from looking too harsh, kind of like a shadow 🙂
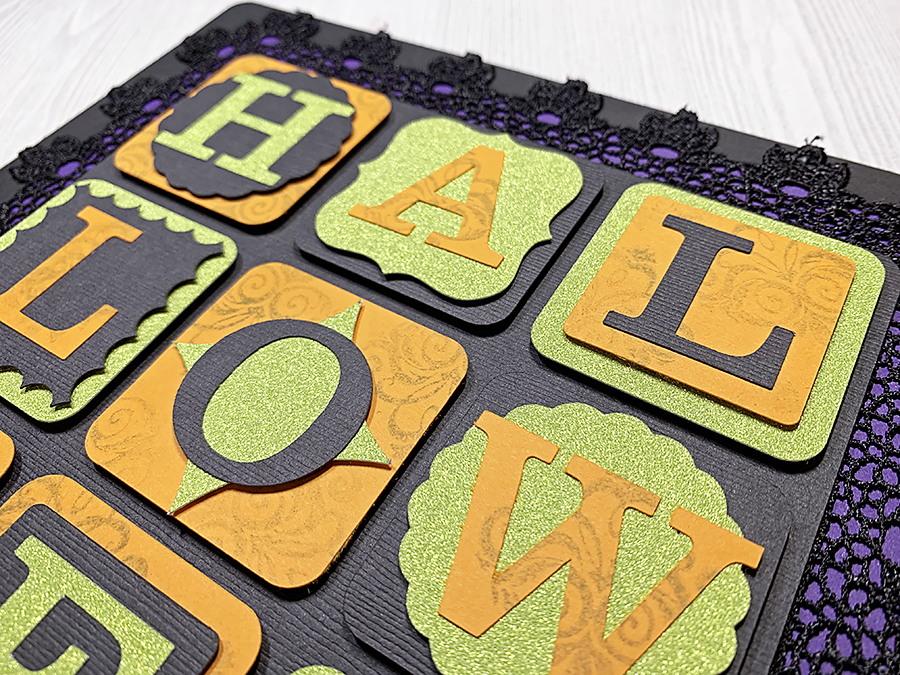
Then to finish off my page and give it some dimension, I adhered all the completed blocks onto the background with foam squares.
Thank you so much for joining me today on the Haunted Halloween Hop! I hope you had lots of fun and found some great ideas for your next Halloween-inspired project!
Blog Hop List
- CutCardStock Blog
- Amber Rain Davis
- Hannah Rubenstahl
- Betz Golden
- Heidi Randazzo
- Crystal Schneider
- Teri Wilson
- Ana Anderson
- Niki Coursey <— You Are Here
Now it’s your turn: head on back to CutCardStock and add your link to our hop. You’ll be eligible for a chance at the $40 Gift Card to the CutCardStock store, and we would love to see your Halloween creations!
Happy hopping, and have a safe and spooky Halloween!

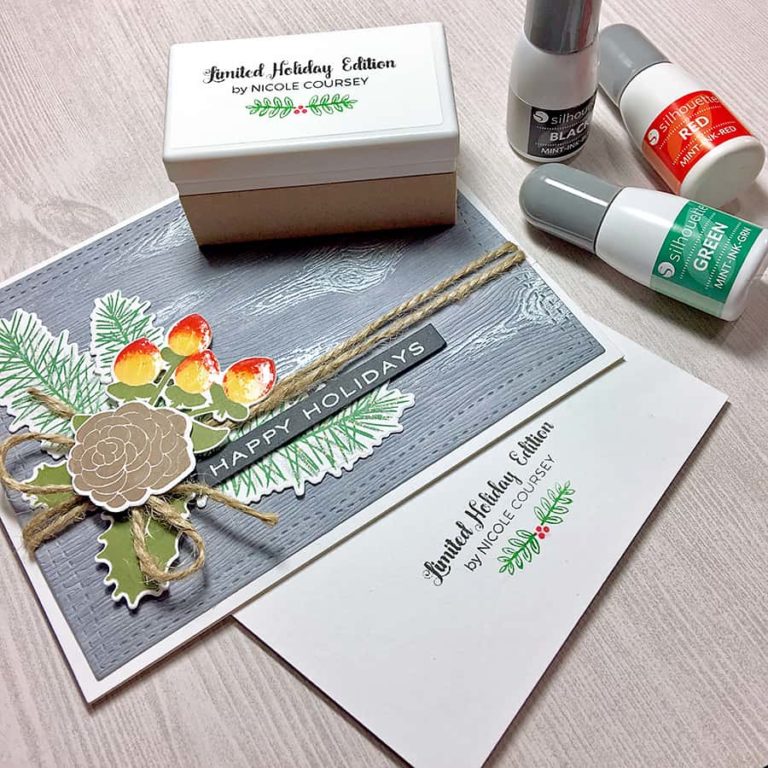
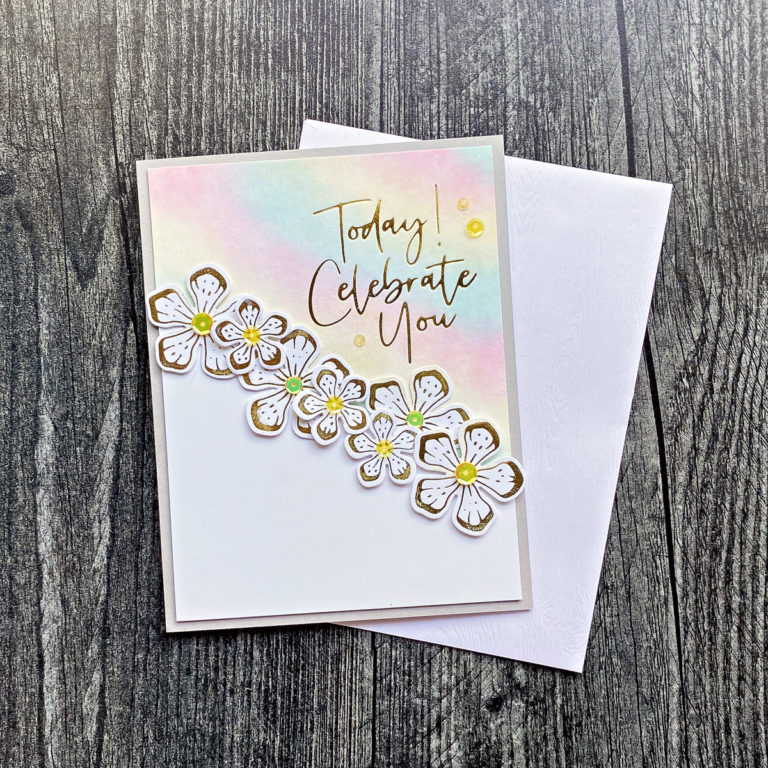
PS – Here’s another Halloween project I think you’d love!
What a neat page. That would be a great look in a Halloween scrapbook album. That’s a neat stand that you have also, love it. Thanks for the inspiration.
~Ginny K.~
This is so fun!
Love how you used the doily for layering.
Love all the layering! Awesome project!
That’s so cute and a great idea!! I even have that stand 🙂
I love this!! I wouldn’t have thought of using the stand but seeing it gives me inspiration for a calendar or even a positive thoughts/inspirational gift for a friend. Thank you for sharing this!
That stand is such a great idea to display recent projects. This sign is so cute. I like the addition of the lace layer. Really pretty.
What a clever idea for a seasonal album display! I don’t know how to use cut files & don’t have the equipment, but I can think of some ways to get this done old school! Thanks!
This is such fun! So many wonderful layers!!
That is great. I like how you have it displayed, too.
Wow! I’m so impressed with this, Niki! You guys make me want to get a scan n cut!!
I love it!