Coloring Peonies with Copic Sketch Markers
It’s a beautiful day here today. I think the temperature outside reached around 75F, and the sun is shining for a change! So lovely, in fact, that I thought I would break out some floral stamps sets, and I spent the afternoon with the window open while coloring peonies with Copic markers.
Glorious, I tell ya!
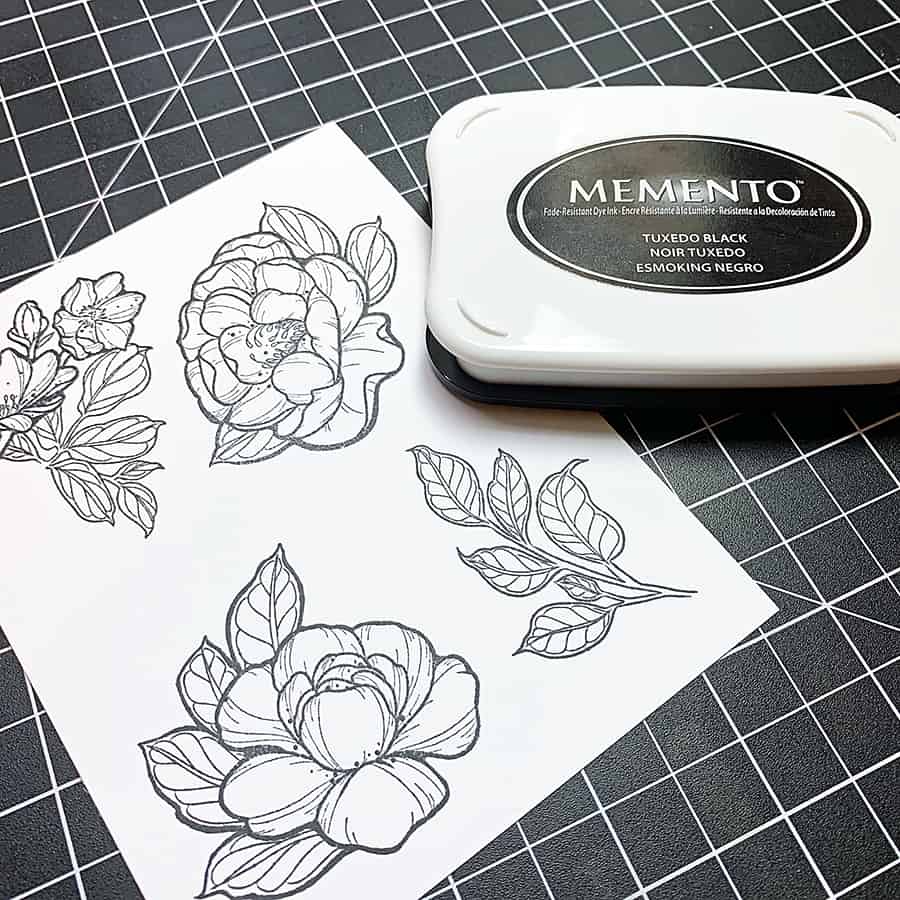
The stamp set I’m using today is called Large Peonies, and it’s from the Just Add Color collection by Stephanie Low at Spellbinders. They sent me this set a few days back to try it out, and I really like them!
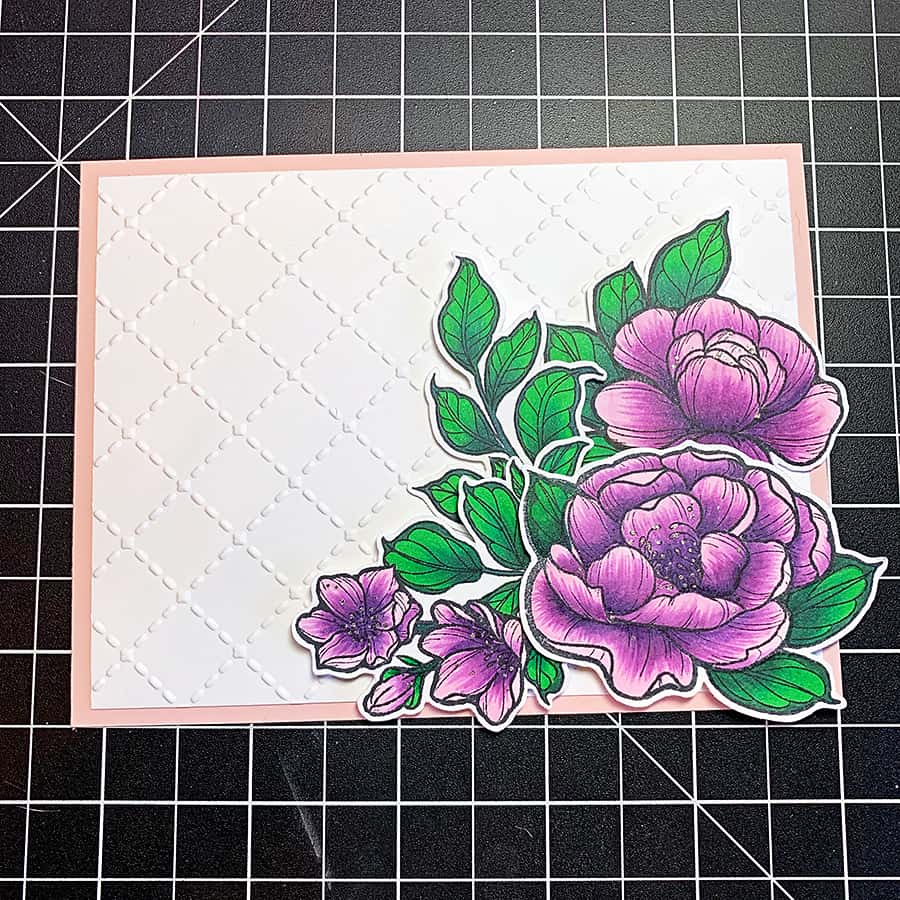
To make my card, I stamped each image once on a piece of smooth white cardstock. I planned to color them all in, fussy cut them and create an arrangement on the card front.
I also posted a quick video clip on my Instagram of coloring the peonies! You’ll find it below.
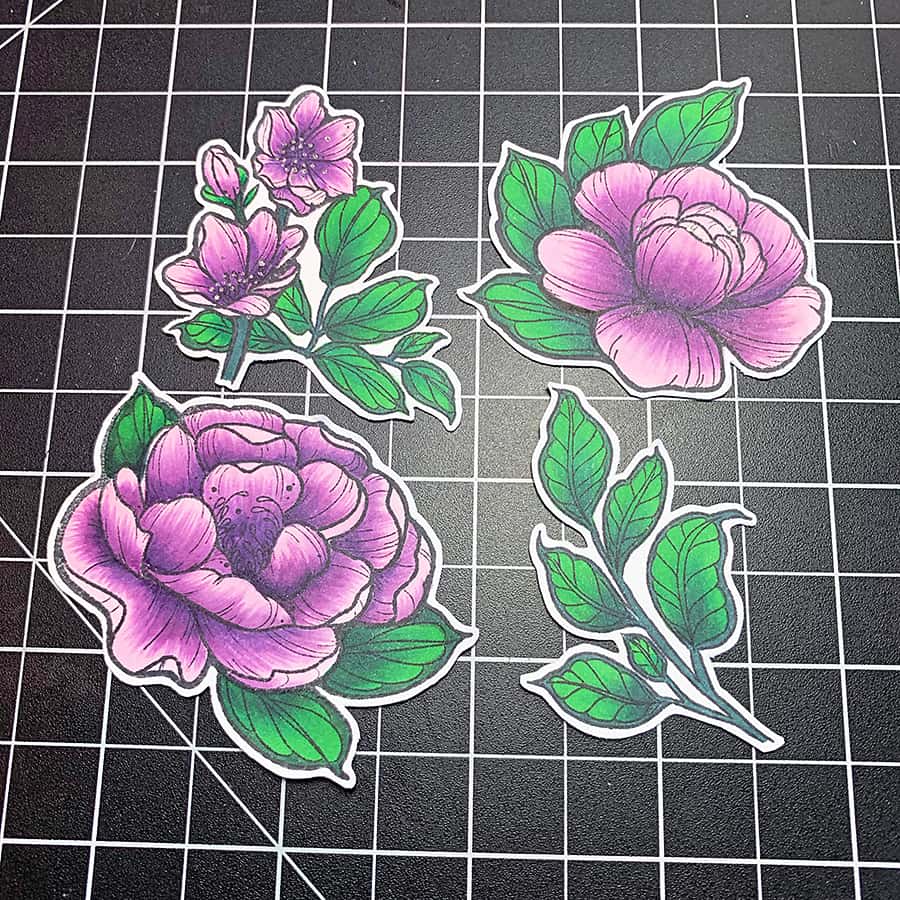
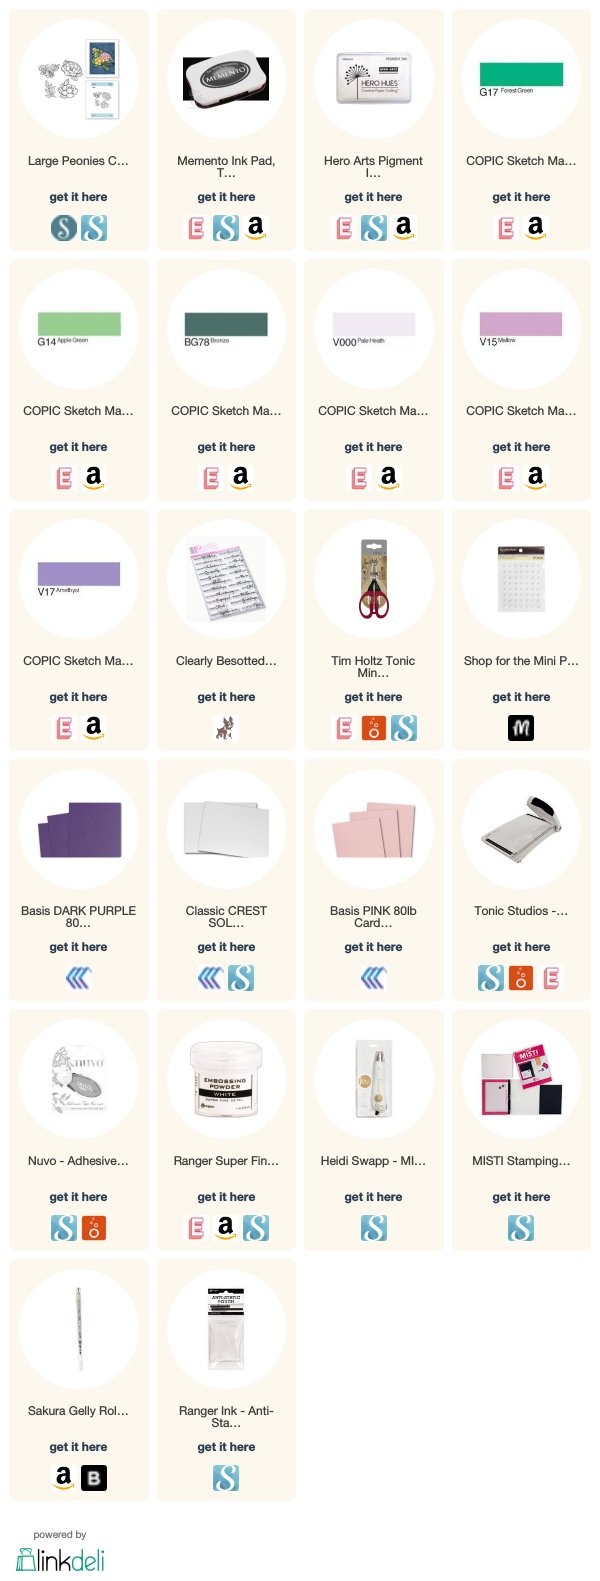
The Copic marker colors I used are:
• V000, V15, and V17 for the peonies
• G14, G17, and BG78 for the leaves
To get the blending and contrast on the petals, I filled in each one with V000, then flicked V15 out from the base of the petal. Next, I added in some tiny flicks of V17 (where I thought there would be the most shadow), then blended it out with flicks of V15 and V000 in that order.
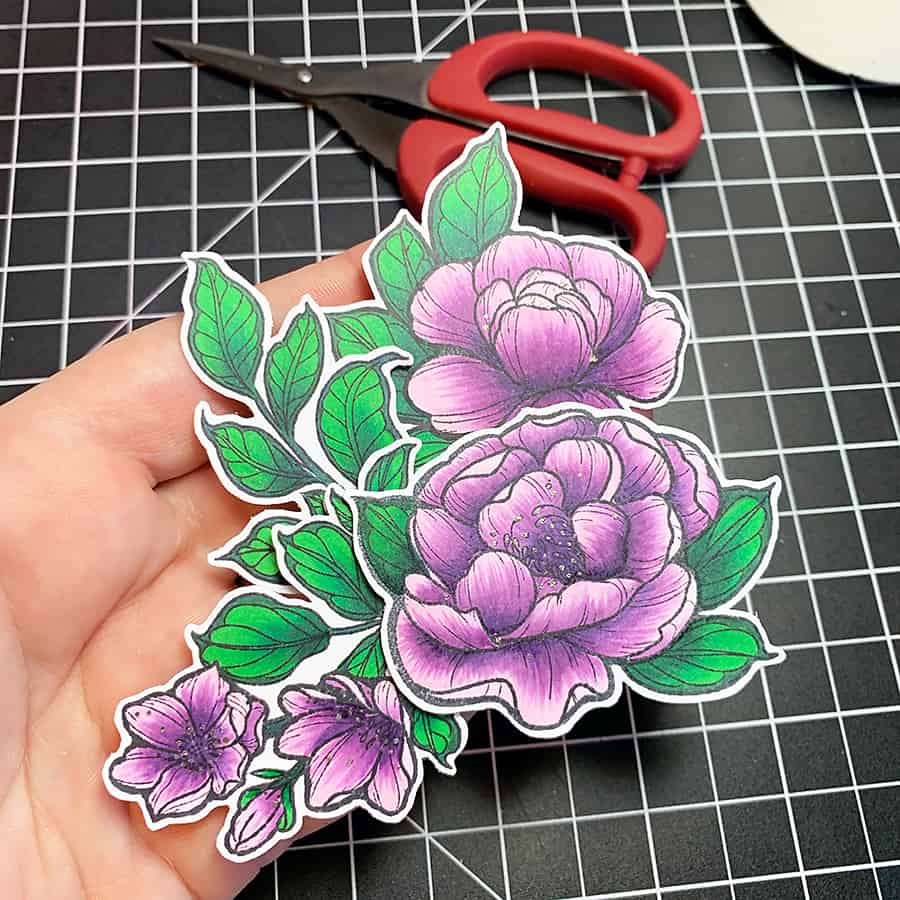
Once I had all the flowers colored, I used a pair of Tonic Studios Mini Snips to fussy cut them. As a side note, did you know the blades only have serrations on one side? Me neither! I had never looked at them that carefully before.
If you cut with the smooth blade on top of your paper, it’s WAY easier to “steer.” That was a tidbit I picked up from The Hedgehog Hollow. Mind blown.
Anyhow, I decided on an arrangement for the flowers and adhered them together in layers using Thin Foam Squares. Now, I had a big embellishment that I could position perfectly on my cards.
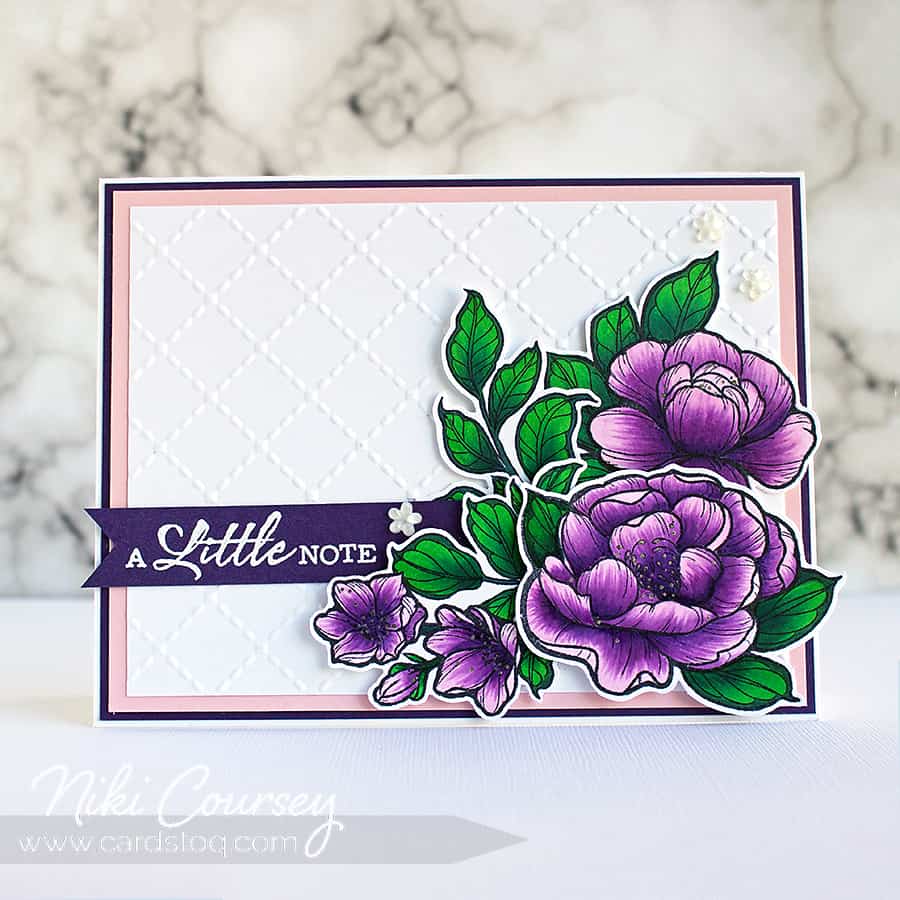
Next, I trimmed my cardstock. The card front will adhere to an A2 card base, so I cut the dark purple to 5-3/8” x 4-1/8” and the pink to 5-1/4” x 4”. The white cardstock that the flowers would be attached to is 3-3/4” x 5”, and I embossed it with a stitch-pattern embossing folder from my stash. But you can use any pattern you like best – a floral would be lovely!
The next step before putting everything onto the card base was to make the sentiment strip. I trimmed a piece from the dark purple cardstock and dusted it with an anti-static tool before stamping the sentiment with Unicorn White pigment ink. Then, I heat embossed it with white embossing powder.
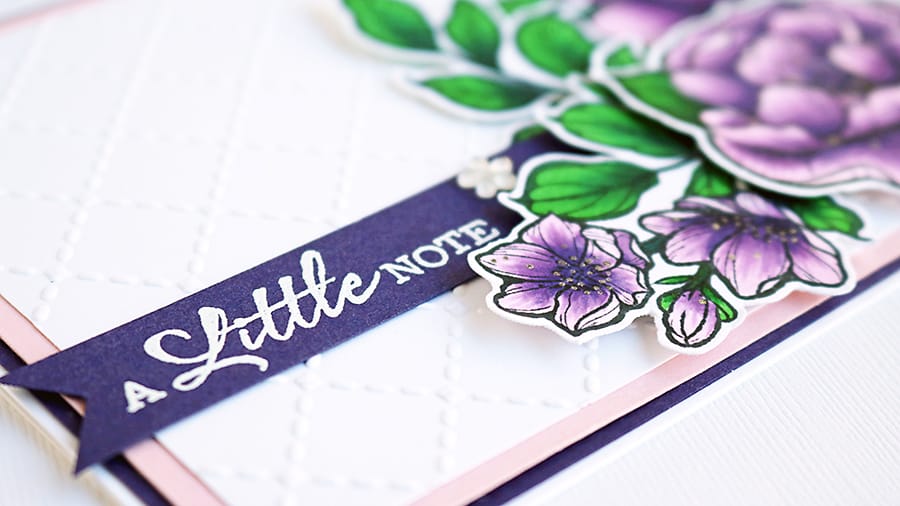
Sadly, I can’t seem to find the link to this sentiment set called Brushed Sentiments Plus from Clearly Besotted. I linked for you another set below that’s just as lovely, though.
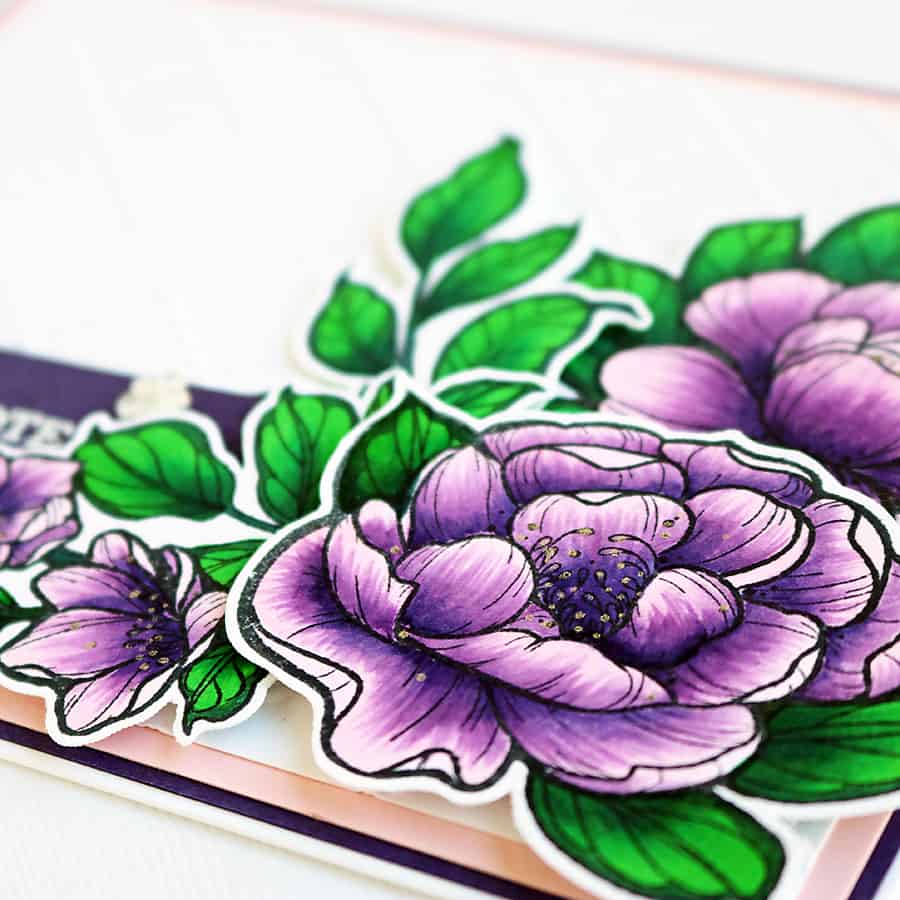
Finally, I flagged the end of the sentiment strip and tucked it in place with some glue tape before I attached the card front to the base. And, of course, I dotted the centers with a silver Gelly Roll pen and added a few ‘lil sparkly flowers 🙂
Thank you so much for popping in today! Happy coloring!

This is so beautiful Niki! Love the depth of colour on the blooms and that beautiful shade of purple. Love the texture the embossing adds too. So gorgeous. Hugs, Wends xoxo
Thanks, Wendy!!