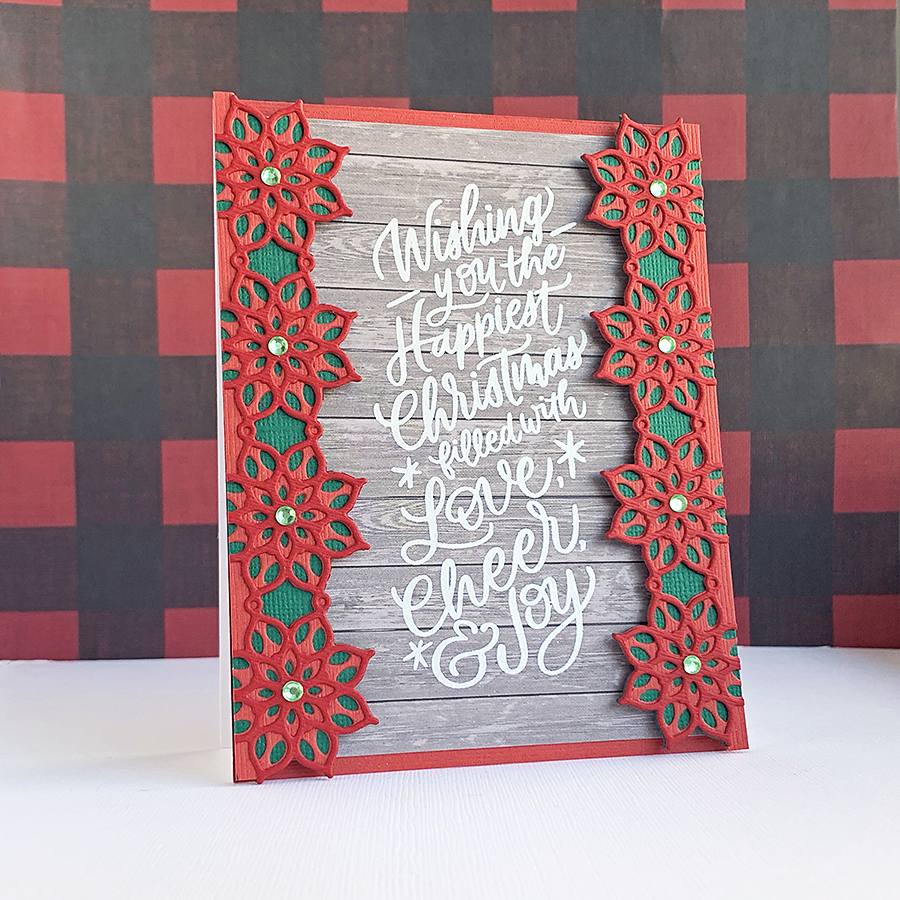
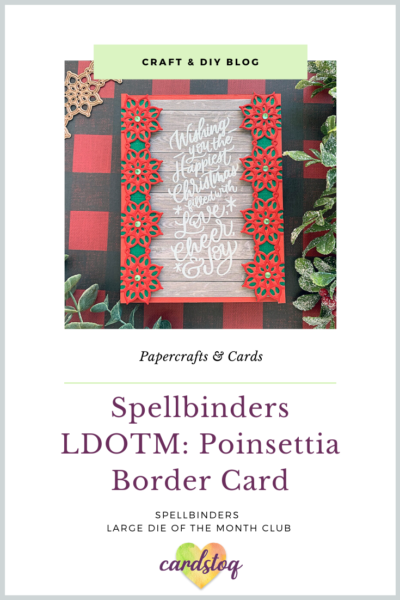
Spellbinders LDOTM: Poinsettia Border Card
Christmas is almost here, and I’m still making cards to send out. Thank goodness they are all local! Are you still making cards too? If you are, I have a super cute poinsettia border idea for you to try out, featuring a bit of fancy layering with the December Large Die of the Month kit from Spellbinders.
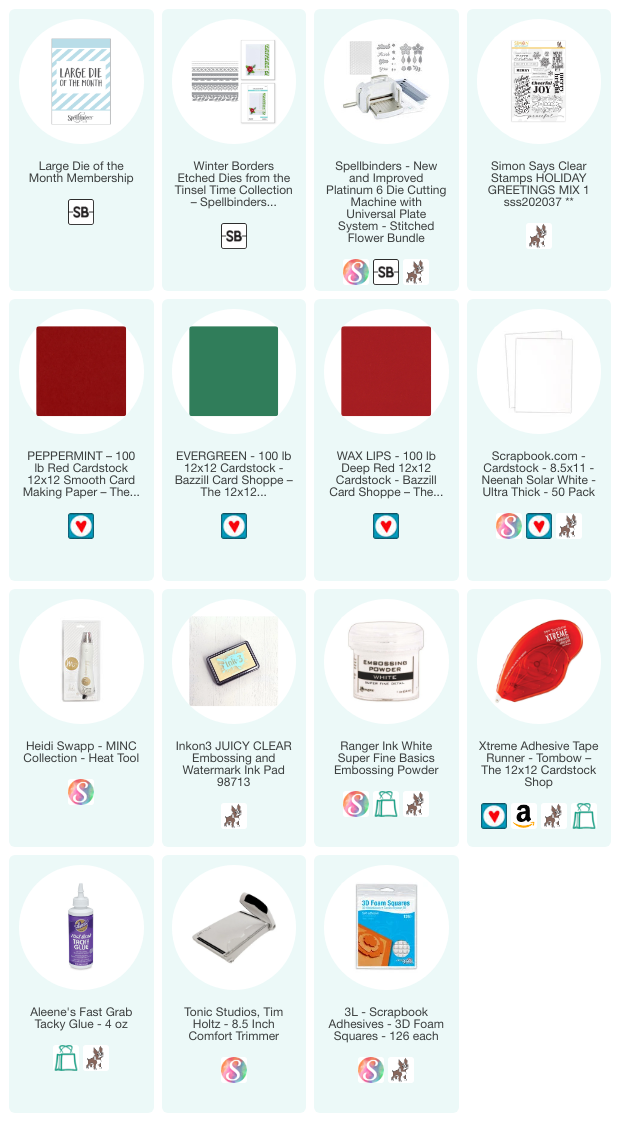
This month’s kit is a gorgeous set called Kaleidoscope Trio Strips and Borders. The neat thing is each design has a second layer and then an edge die, to boot!
This set is retired, but a good alternative is Winter Borders from the Tinsel Time Collection.
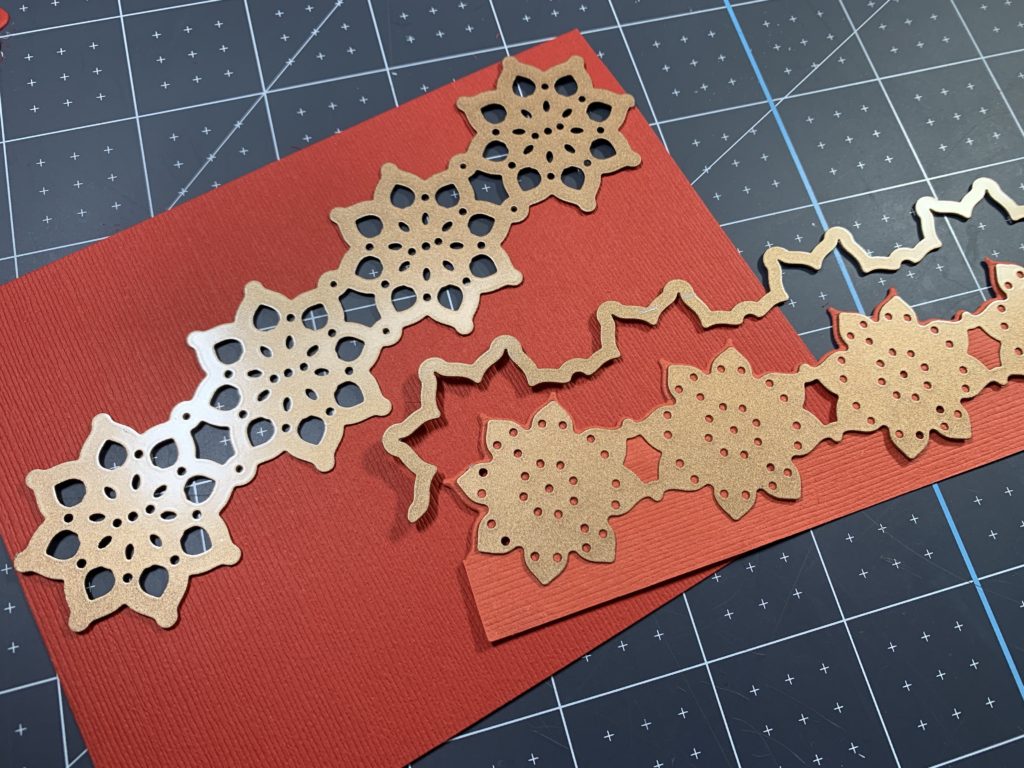
I picked out this one to work with today. It reminded me of poinsettias, and I love those so much around Christmastime. Sadly, I can’t have any in the house because of three furry troublemakers who would be happy to make a snack out of them. Paper ones will have to do. 🙂
I also picked up a new stamp set from Simon Says Stamp called Holiday Greetings Mix 1, and it has some great holiday sentiments. I especially liked the stacked one I used on this card; it went together with the die design perfectly.
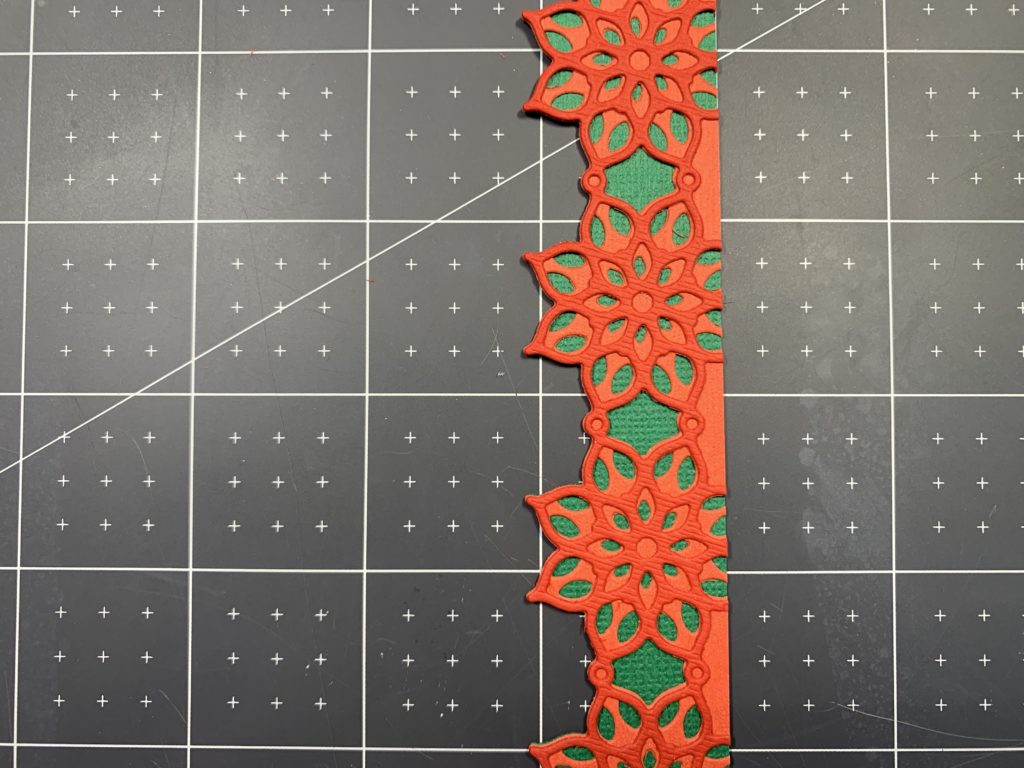
To start, I die cut both strip layers along the edge of some red cardstock. I used two different shades of red – a dark one called Peppermint for the top layer and a lighter one called Wax Lips for the middle. Then I used the matching border die to trim out a Classic Green base for each strip.
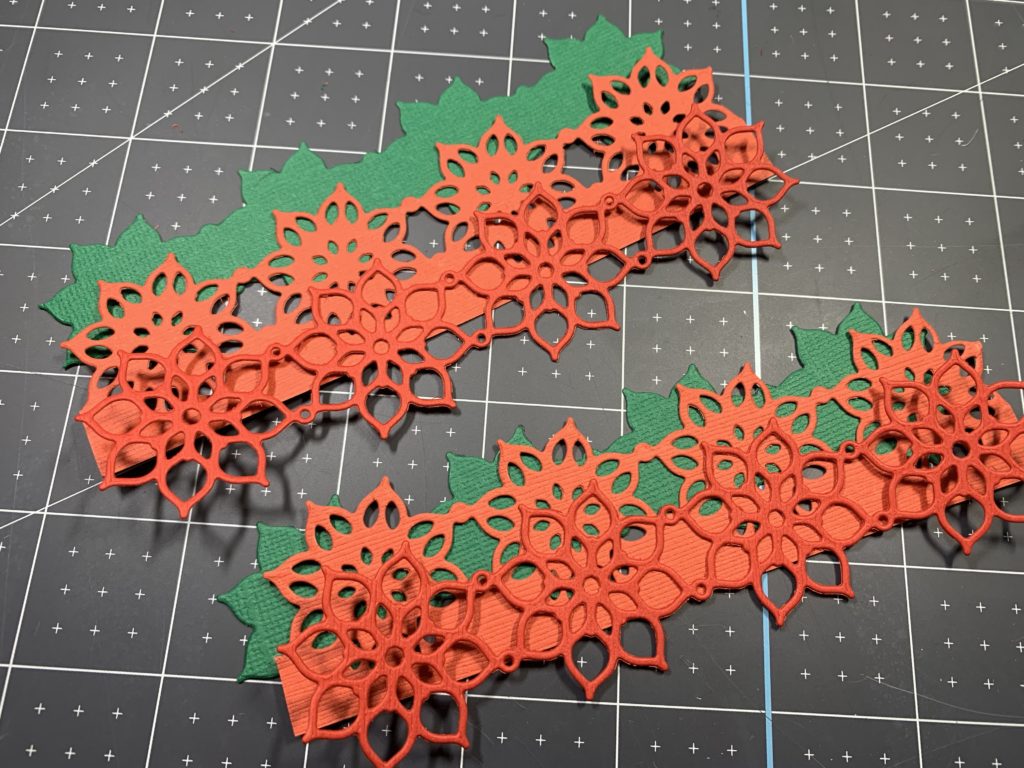
Of course, I pulled out my favorite glue, Aleene’s Tacky, to stack all the die cuts in place. Once they were dry, I trimmed the edge so the width of the strip was about 1⅛”, perfect for lining each side of my card.
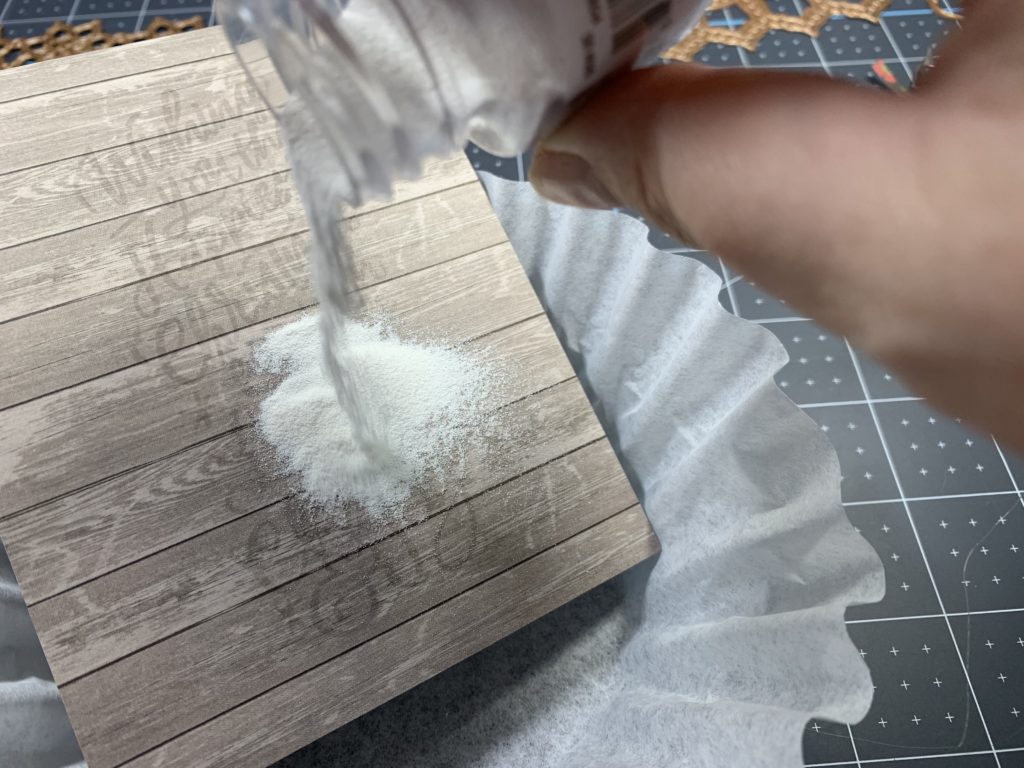
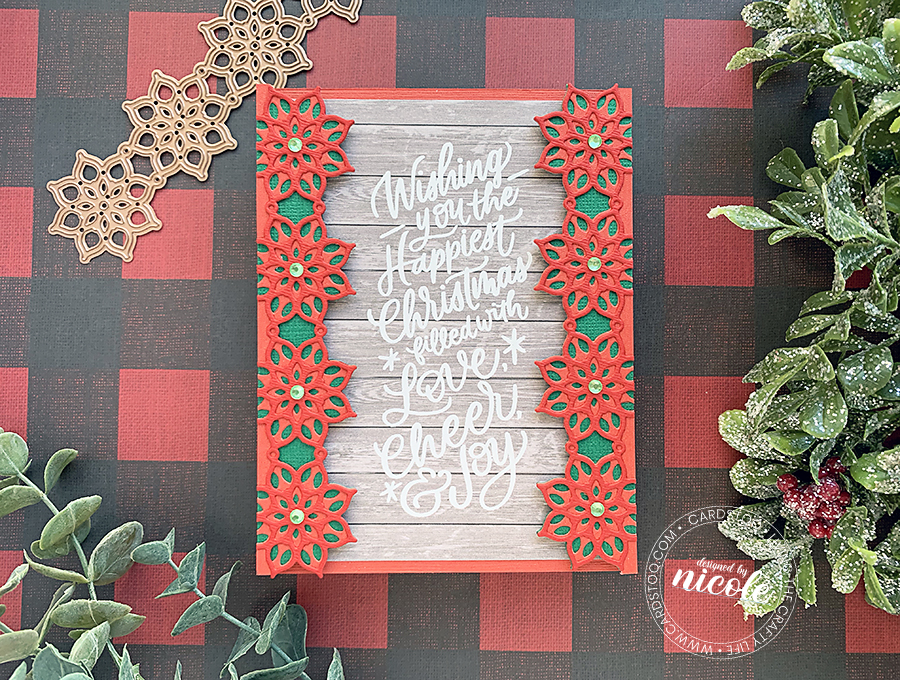
For the sentiment, I found some wood panel patterned paper and trimmed it to 4” x 5 1/2”. Then, I heat embossed the words with Inkon3 Embossing Ink and Ranger Embossing Powder in Detail White.
Once I had the heat embossed paper matted to a 4¼” x 5½” piece of the Wax Lips cardstock, it was time to add on the poinsettia border! I wanted them to have a bit of depth, like a frame, so I used foam squares to attach them to the sides of my card front. Then, all I needed was a bunch of light green adhesive gems for a bit of sparkle.
Do you subscribe to the LDOTM kit from Spellbinders? Leave a link to your favorite project in the comments below; I’d love to see what you dreamed up!
Thanks for popping in today! Go ahead and pin this to your holiday inspiration board on Pinterest!
Here’s another beautiful holiday card I bet you’ll like!