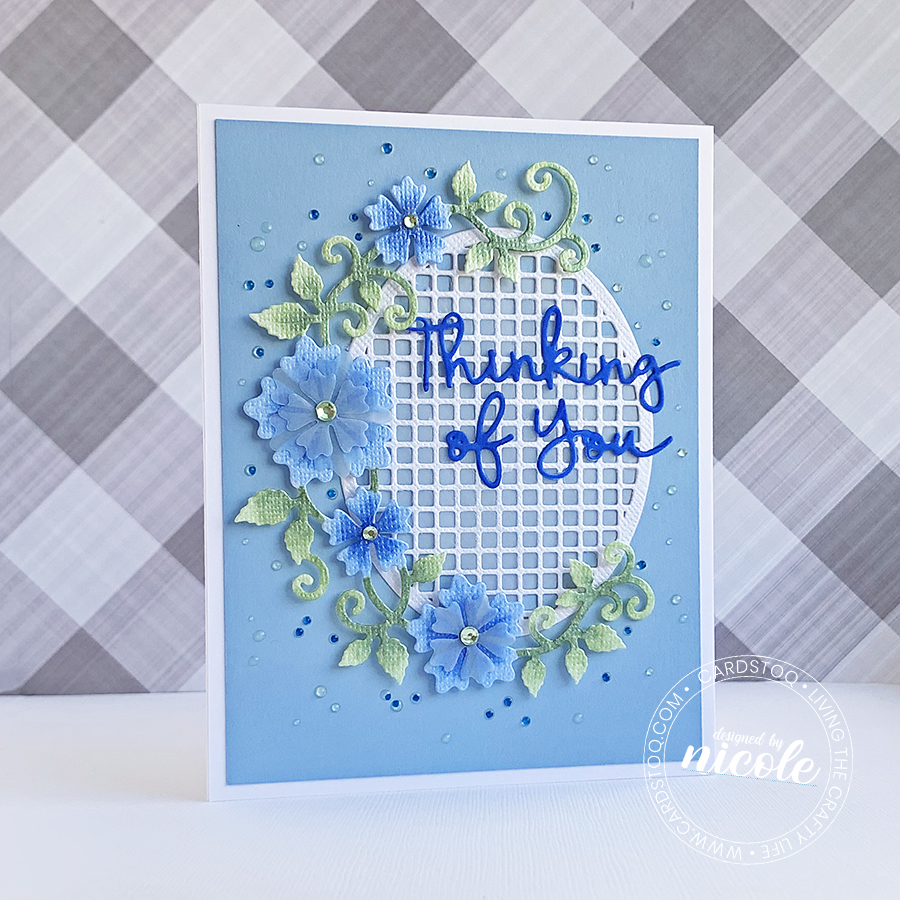
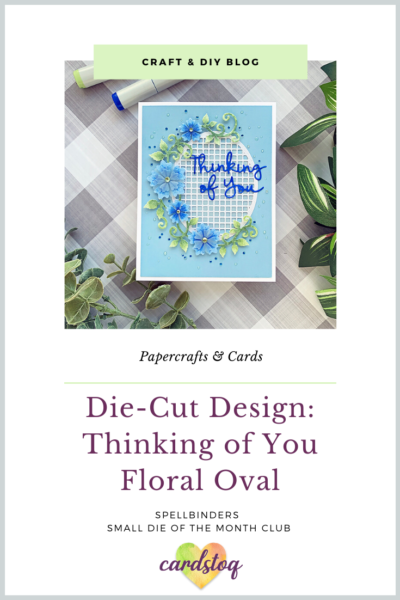
Die-Cut Design: Thinking of You Floral Oval
I don’t know about you, but I’m a huge fan of word dies. It’s just so easy to get a dab of glue and pop on your sentiment than to try to align a stamp. You’ll likely end up embossing an inked word as well to help it stand out.
So imagine my surprise and delight when Spellbinders sent me the Small Die of the Month kit. It’s called Our Favorite Font Sentiment, and it’s all kinds of words you can mix and match. I’m in love… which, coincidentally, is one of the words in this kit. 🙂

Gorgeous, I tell ya.
You can use these dies with pretty much any project you need a sentiment for. So I dug through my stash and pulled out one of my other favorite Spellbinders die sets. It’s called Floral Oval, and it’s from the Special Moments Collection.
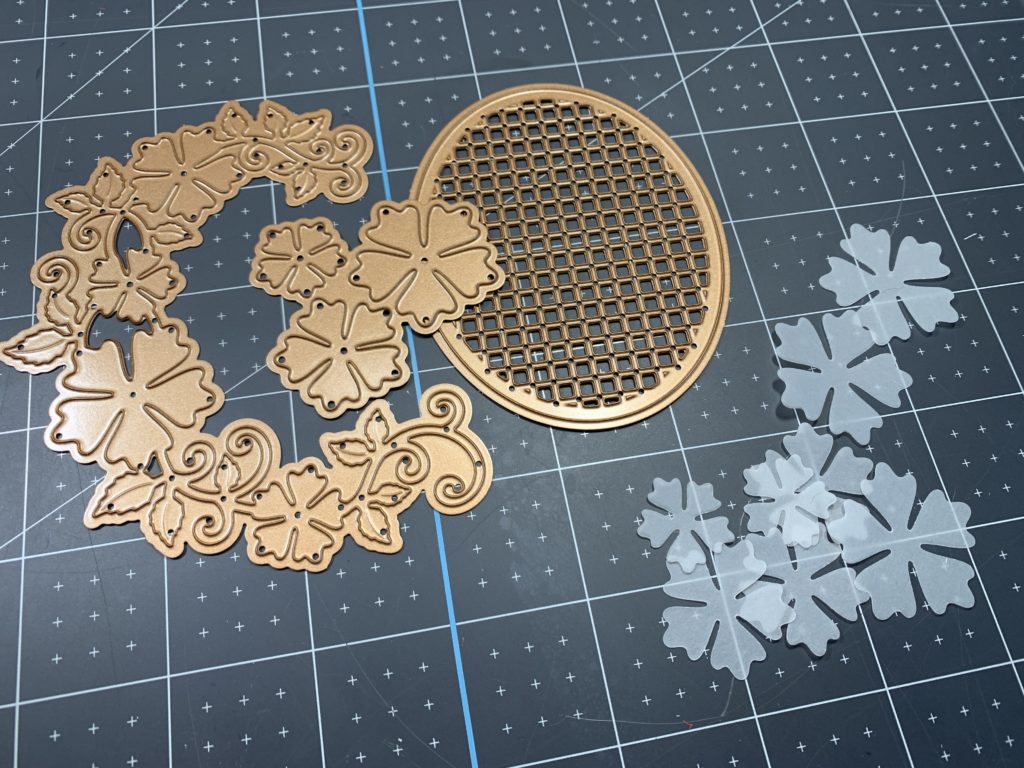
Gathering the Pieces
I die cut the lattice oval twice: once from Bazzill Diamond cardstock, and once from a heavy Vellum. I poked out all the squares from the shimmery cardstock, but just a few around the edges of the vellum before I sandwiched them together.
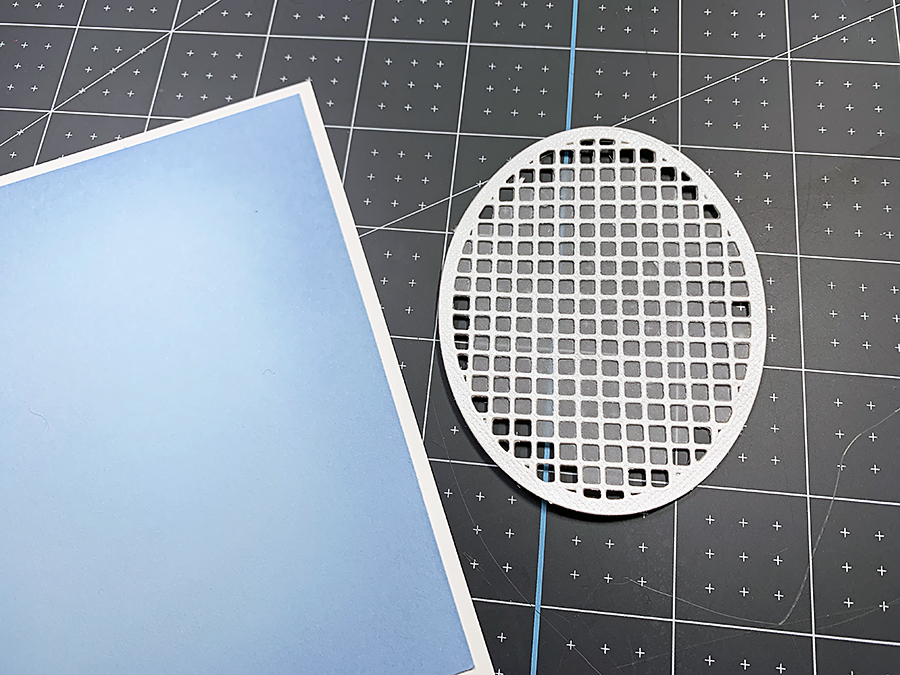
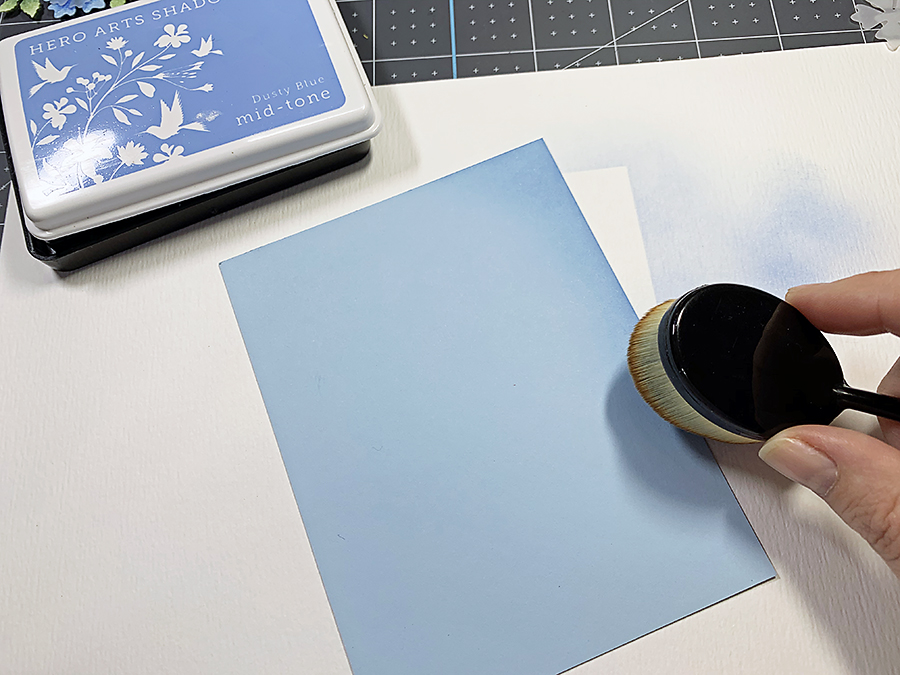
To make the background, I blended some Dusty Blue Shadow Ink in from the edges, then attached the ovals just a little right of center to make room for the floral spray.
Adding Color
Next up, the flowers! I used Diamond cardstock from Bazzill again here since I planned to color with Copics. The alcohol ink doesn’t damage the shimmery finish of the paper, which gives the flowers a little extra something & helps the ink to blend a bit, too.
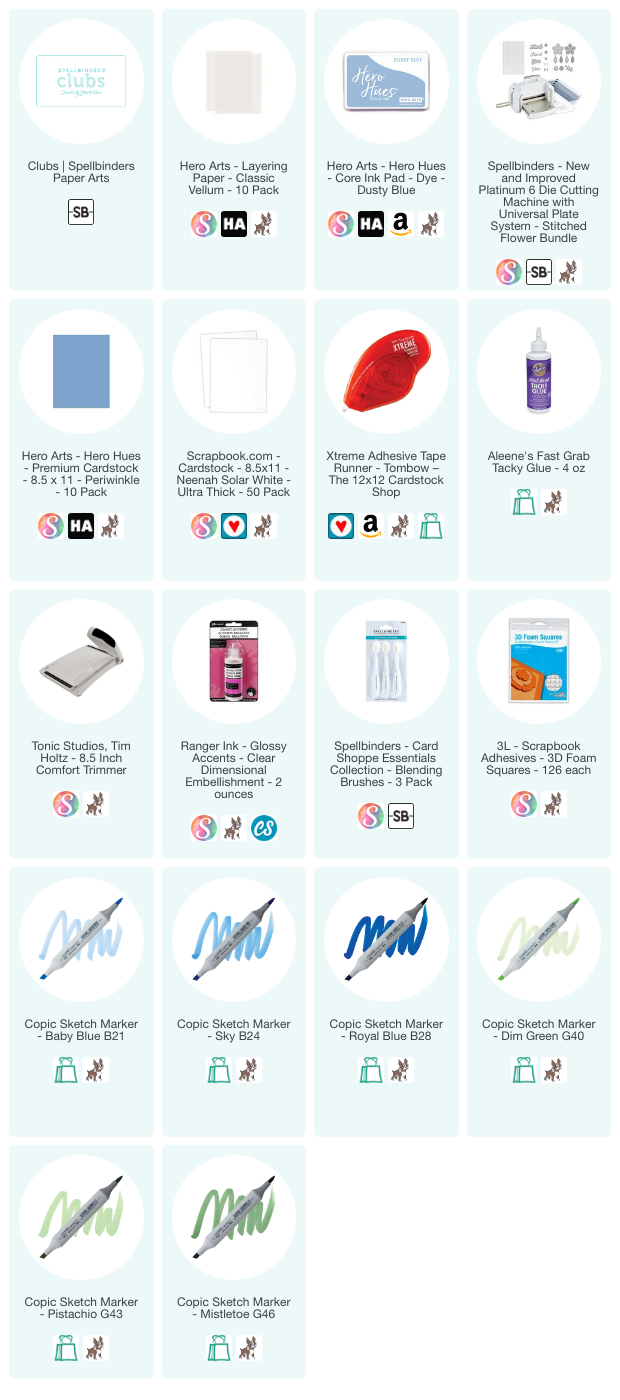
The colors I used are:
- Flowers: B21, B24, and B28
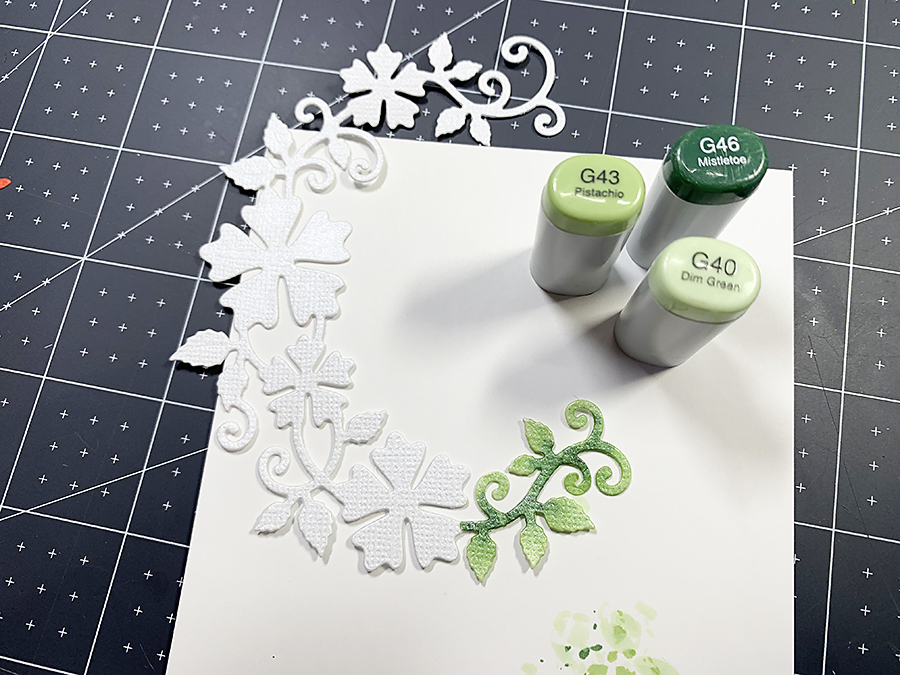
- Leaves: G40, G43, and G46
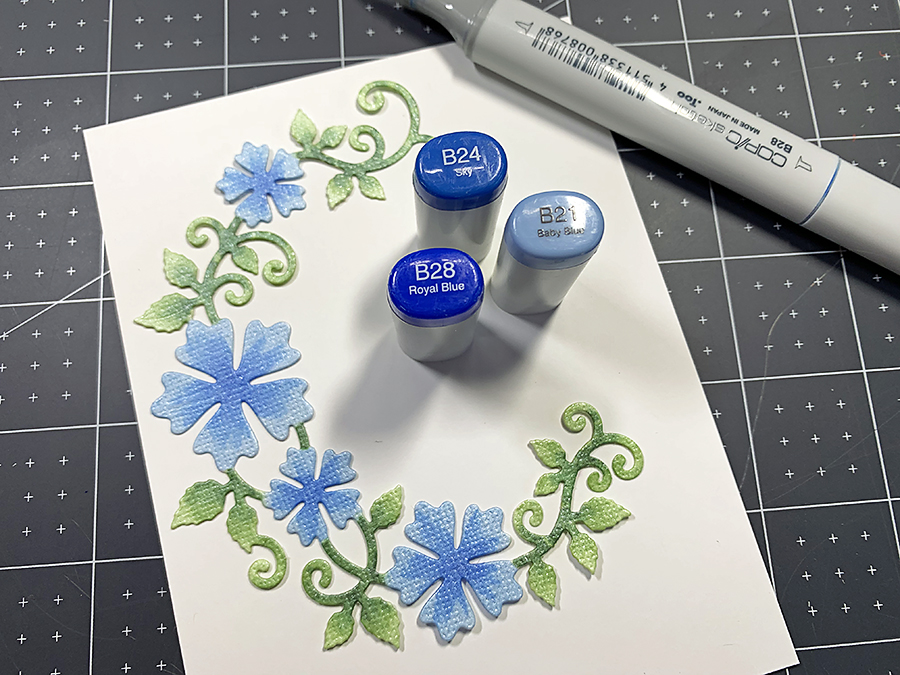
I didn’t do much blending here because I planned to add some vellum overlays on the larger flowers. I used a quick flicking of color from the centers outward and dabbed in the lightest color (B21) to soften the lines a bit. The same goes for the leaves, even though I mostly stayed with the mid-green (G43).
Once I die cut and glued the vellum flowers in place, it was time to add the floral spray onto the card front. I strategically placed some snipped up foam squares, then attached the spray to the left of the oval.
For the sentiment, I picked out “thinking of you” from the Small Die of the Month Kit and colored them with the darkest of the Copic markers I had used on the flowers (B28). After I popped it out, I went around the edges, too.

All this cute little sentiment needed to hold it in place on the card front was a few tiny drops of Aleene’s Tacky Glue.
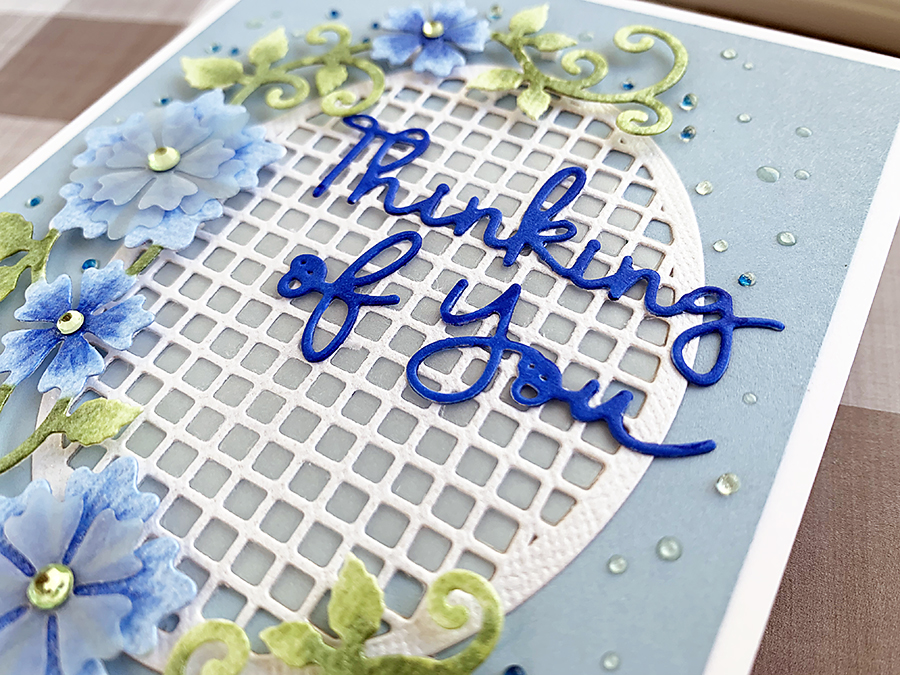
To finish off, I added dots of blue pen and Glossy Accents around the whole floral oval for a bit of shine. And that’s it for the card today! I love how it turned out.
Want to save this for later? Go ahead and pin this to your inspiration board on Pinterest! Thanks for reading today!
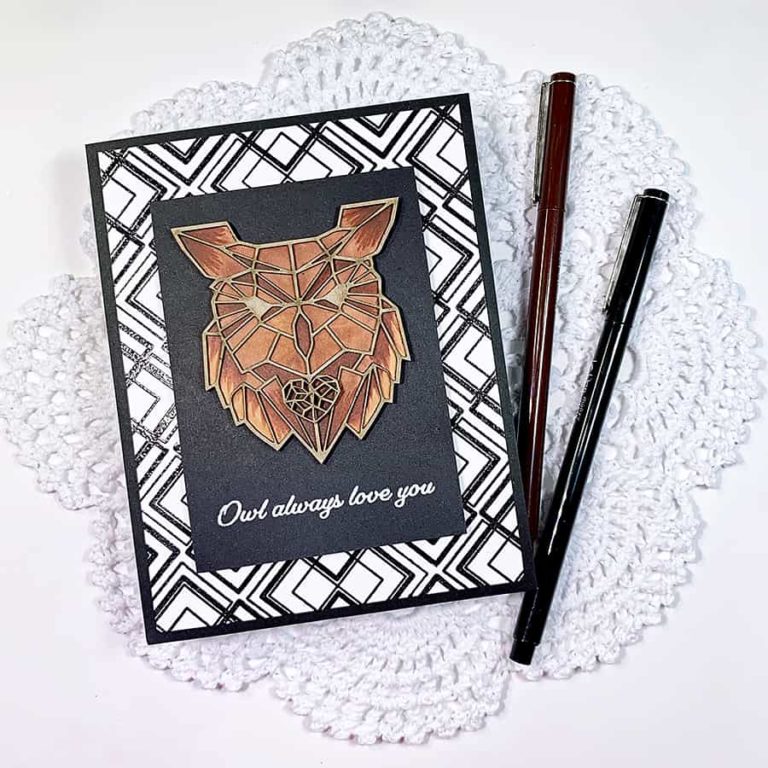
Here’s another card with a die-cut sentiment I think you’ll like!