Die Cut Dimensional Autumn Tree
This is a quick card I made the other day, after watching a video by Laura Bassen in which she used a sheet of Press n’ Seal to lift up an entire die cut design.
All you need to do after that is flip it over and add foam squares to the pieces, then place it down on the card front in perfect order.
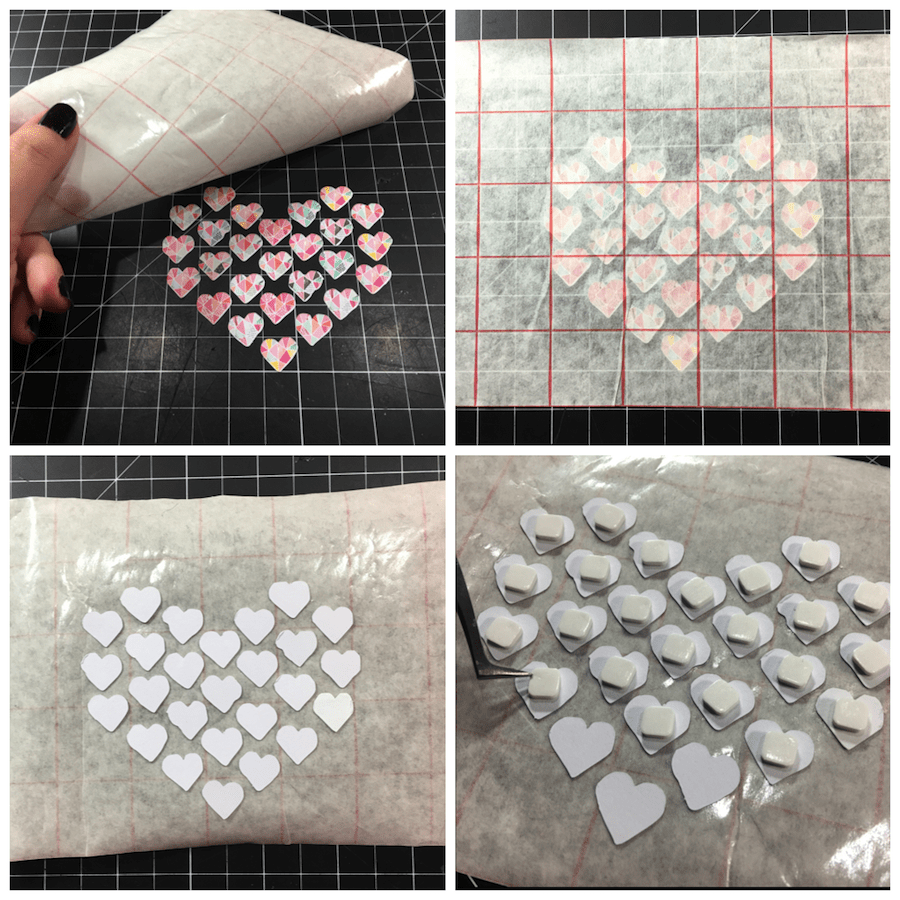
Sadly, I was so excited about this technique, I didn’t snap a picture of the back of the leaves, BUT… this a photo from another project I posted at Silhouette America that uses the same idea.
Floored, I tell ya. What a time saver! I never think of genius things like that – I’m still working on my artistic vision, I guess 🙂
There was a Papertrey Ink stamp and die set in my stash that was perfect for me to experiment with. I didn’t have any Press n’ Seal, though, so I had to make do with a sheet of Inkadinkado Masking Paper.
I ran the die through my Big Shot (paper on the bottom, die on top), then carefully stuck my masking sheet on the cut paper, making sure none of the leaves moved out of their places.
When I lifted it up, all the leaves and tree trunk were perfectly positioned, so I added my foam squares and then centered it over my card panel. Press it down, then peel back your sheet. Done!
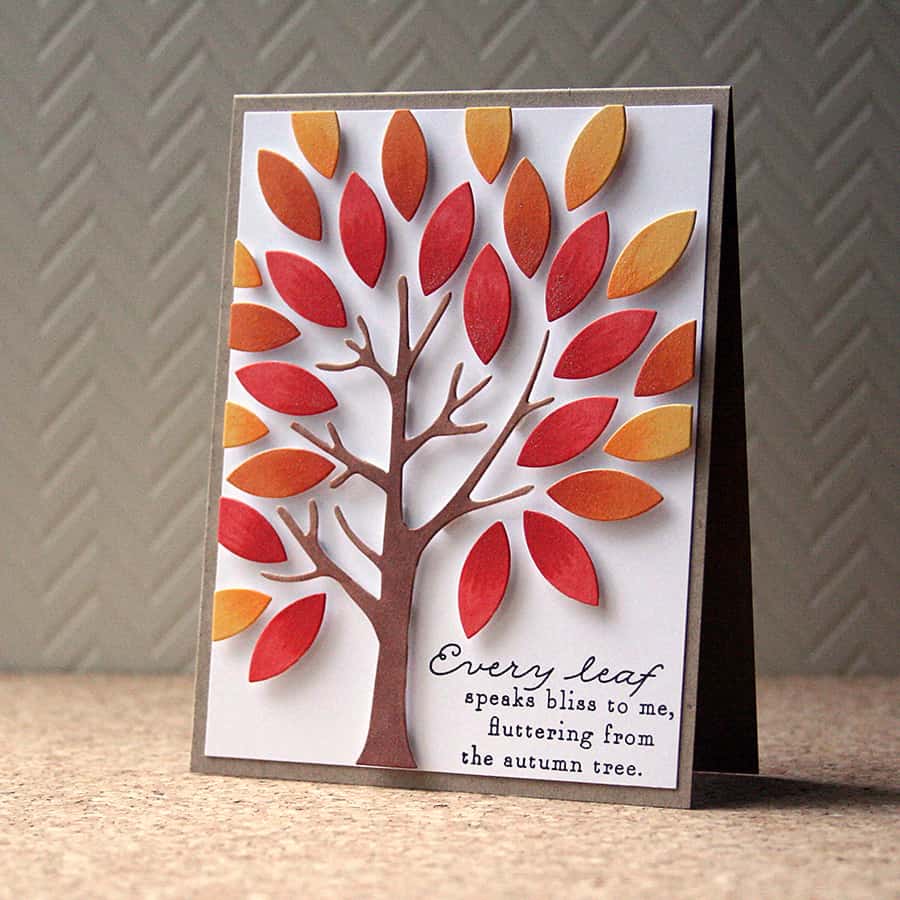
In hindsight, I should have made a sunset background with Distress Ink first. That would have made my tree really pop. But, I was so excited to start coloring the die cut pieces I got ahead of myself and stuck down all the foam squares.
[bctt tweet=”Always consider your background first – especially in scrapbooking, cardmaking, and selfies.” username=”cardstoq”]
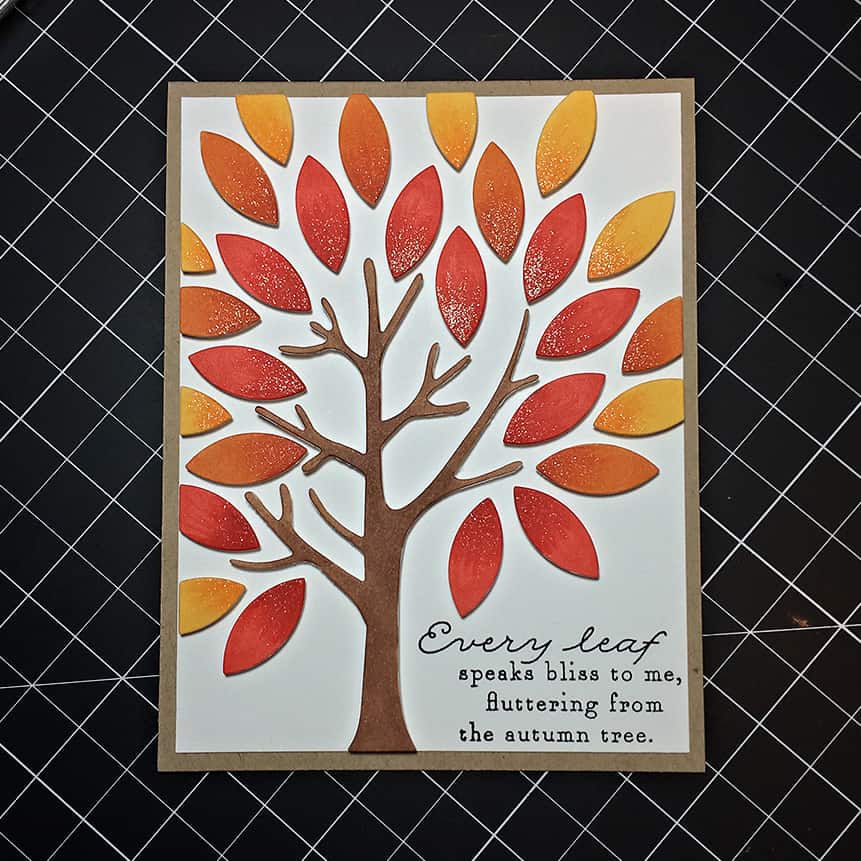
It worked out, though. I used red, orange, and yellow Copic markers to color my leaves, and a medium brown for the tree trunk. I stamped my sentiment, then finished off my leaves with a little Clear Wink o’ Stella.
You don’t need a specific type of die to make this kind of dimensional design. Feel free to use some of your smaller dies to create a pattern, die cut them and use a low tack sticky sheet to transfer them to your project, exactly the way you cut them and in all the right places!
Give it a try!

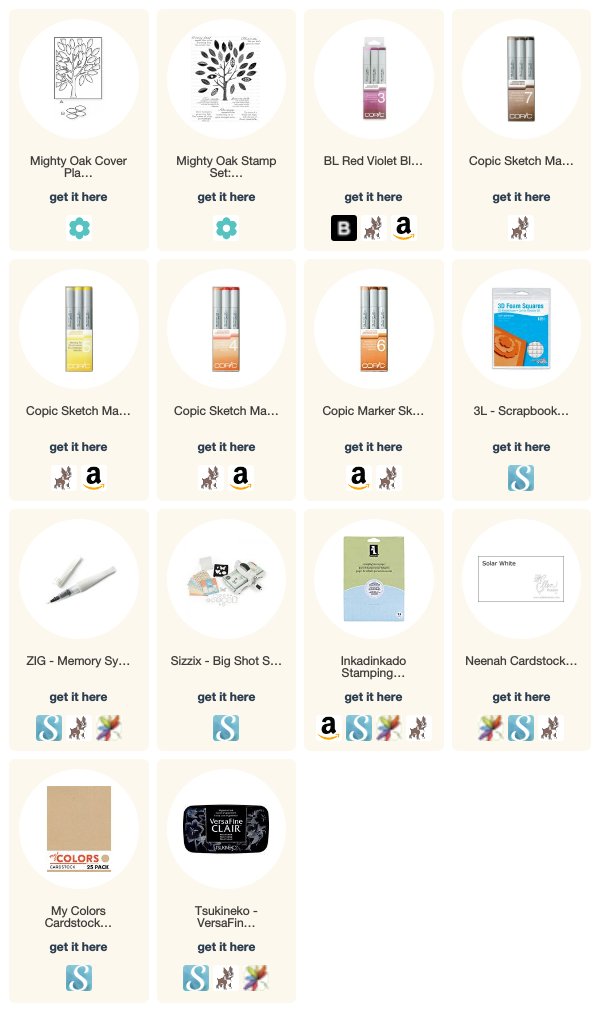
The links below are affiliate links to the products I used today. There’s no additional cost to you, and if you decide to click and shop, I really appreciate the support! Thank you!

Beautiful project and perfect for the autumn season, such lovely colours, I’m a big fan of the 3D leaves! 🙂
Me too Margarita! Thanks 🙂
Gorgeous Niki and such a fab idea! Love the dimension of the top one. Gorgeous creations hun. Hugs, Wends xoxo
Thanks, Wendy! <3